When my husband and I bought our older (and dated!) home a few years ago, the kitchen was one of those rooms that made me sigh (and look away) every time I walked in.
It wasn’t exactly falling apart, but it looked tired, dated, and stuck in another decade (the 60s to be exact!).
I also knew a full remodel wasn’t happening anytime soon.
After moving costs and all the other new-house expenses, I needed cheap and easy kitchen updates on a budget.
That’s exactly what I did in my own kitchen, and those small changes made the room feel brighter, cleaner, and so much more like a home we could be proud to call ours.
So, if your kitchen also needs a refresh, but your wallet says “not a chance,” I’ve got you covered!
Keep reading to learn all the easy ways I upgraded my own kitchen the cheap way!
I may earn a small commission for affiliate links in this post at no extra cost to you. Please read my privacy policy and privacy page for more information. As an Amazon Associate, I earn from qualifying purchases.
Start with the updates that make the biggest difference
I know firsthand that the best budget projects are the ones that change the whole room fast.
In most kitchens, that means looking at the cabinets, backsplash, countertops, and any furniture that takes up a lot of visual space.
The trick is not doing everything at once.
I upgraded my kitchen one project at a time over the course of a few months.
Plus, as I found, if you plan your projects in the right order, you won’t waste money fixing something twice or covering up a fresh update with dust from the next one.
If the layout still works and the bones are solid, a refresh can go a long way.
Pick one focal point so the kitchen feels updated right away
When someone walks into a kitchen, what do they notice first?
Usually, the cabinets.
Sometimes the counters.
In a smaller kitchen (like mine!), it might even be the table.
That’s why I always tell people to pick one focal point first.
One big change makes the room feel intentional.
Five half-finished ideas make it feel chaotic.
Decide what to refresh, what to keep, and what to fake for less
This is where a budget stretches further.
I don’t replace things just because they’re old.
If something still works and doesn’t look terrible, I keep it.
I save my money for the pieces that date the room the most.
Maybe that’s brassy hardware, a busy backsplash, or stained counters that always look dirty even when they’re clean.
And when a real replacement costs too much, I fake the look (for now).
Cheap kitchen updates that change the whole room without a remodel

These are the projects I keep coming back to because they work.
They’re beginner-friendly, they don’t need fancy tools, and most of them can be done over a weekend.
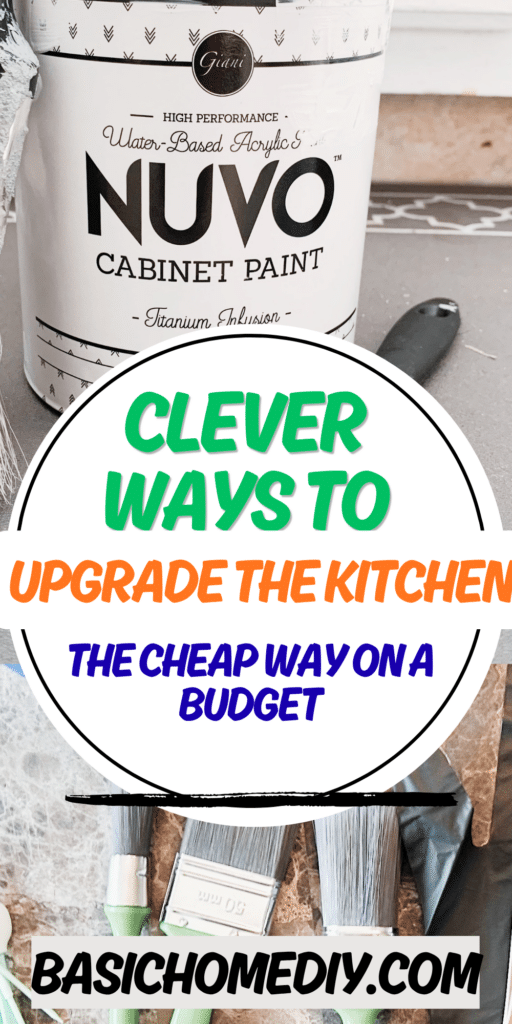
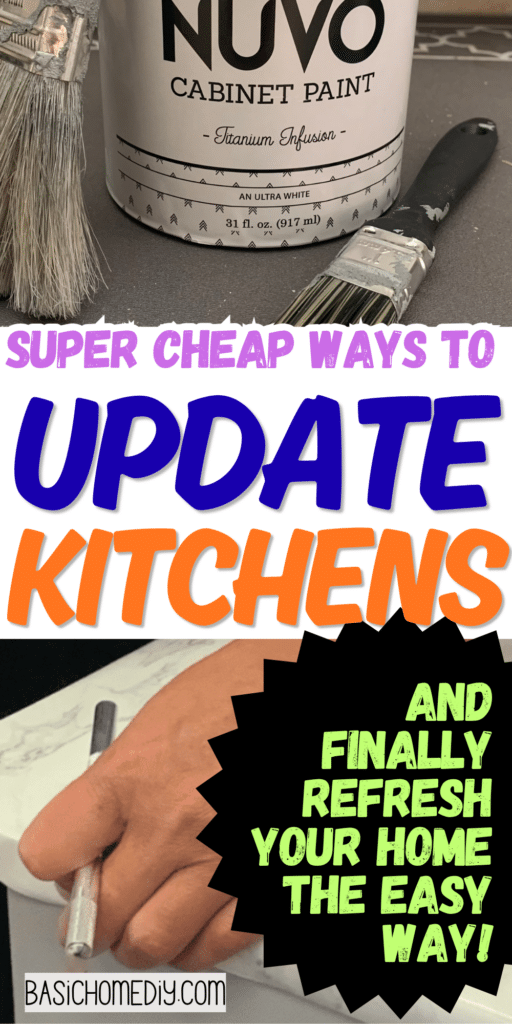
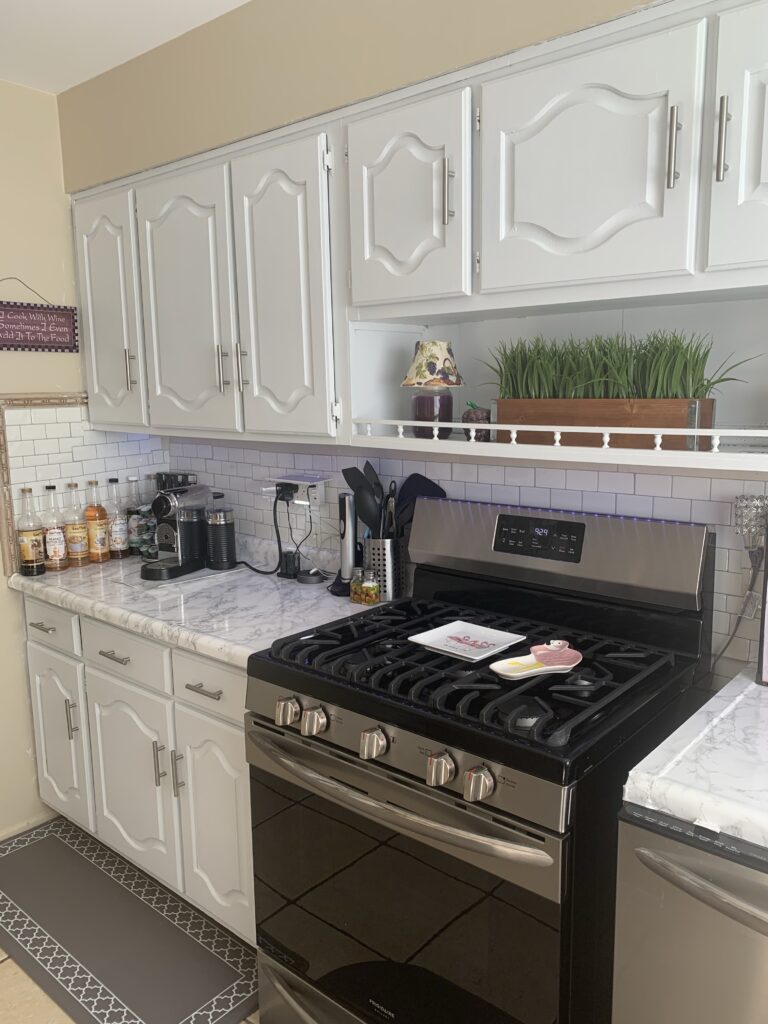
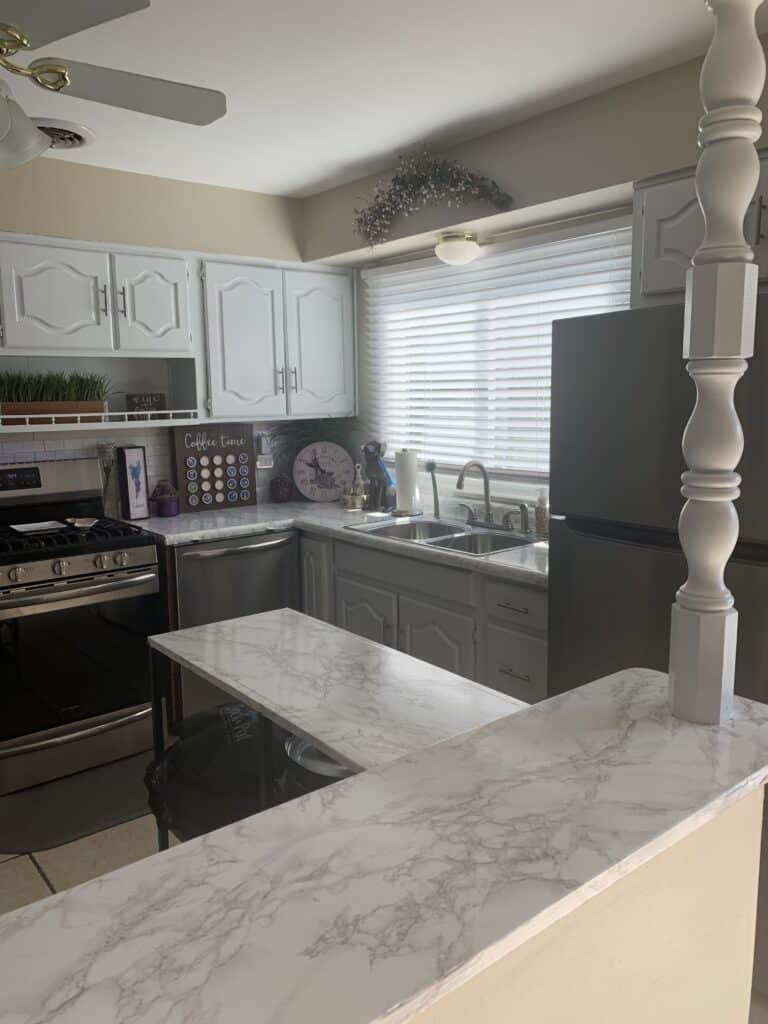
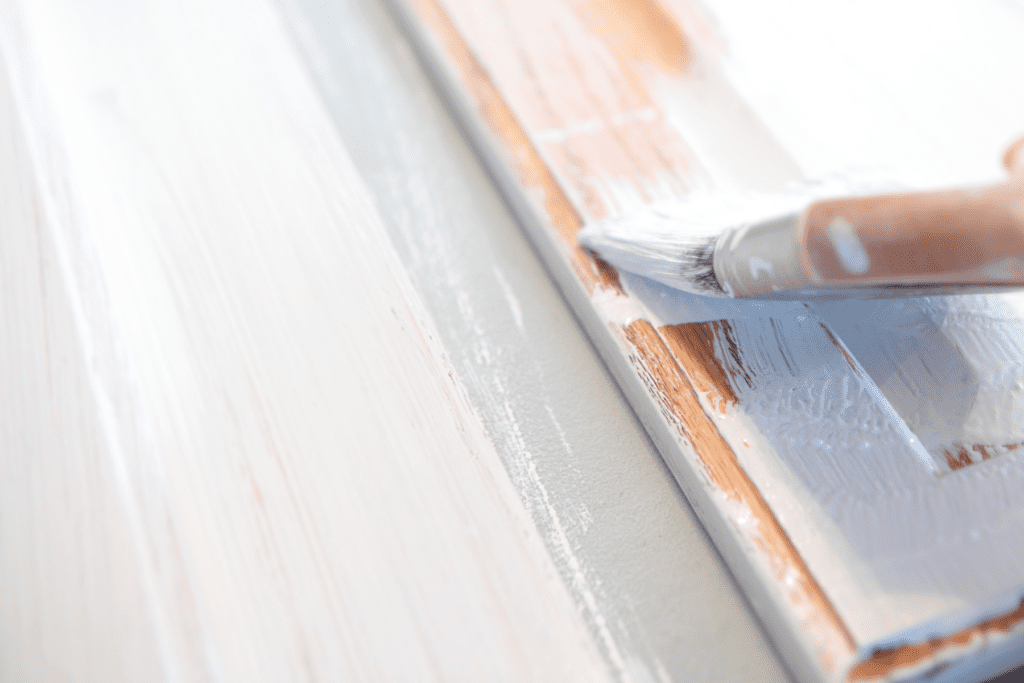
Paint cabinets for an instant transformation
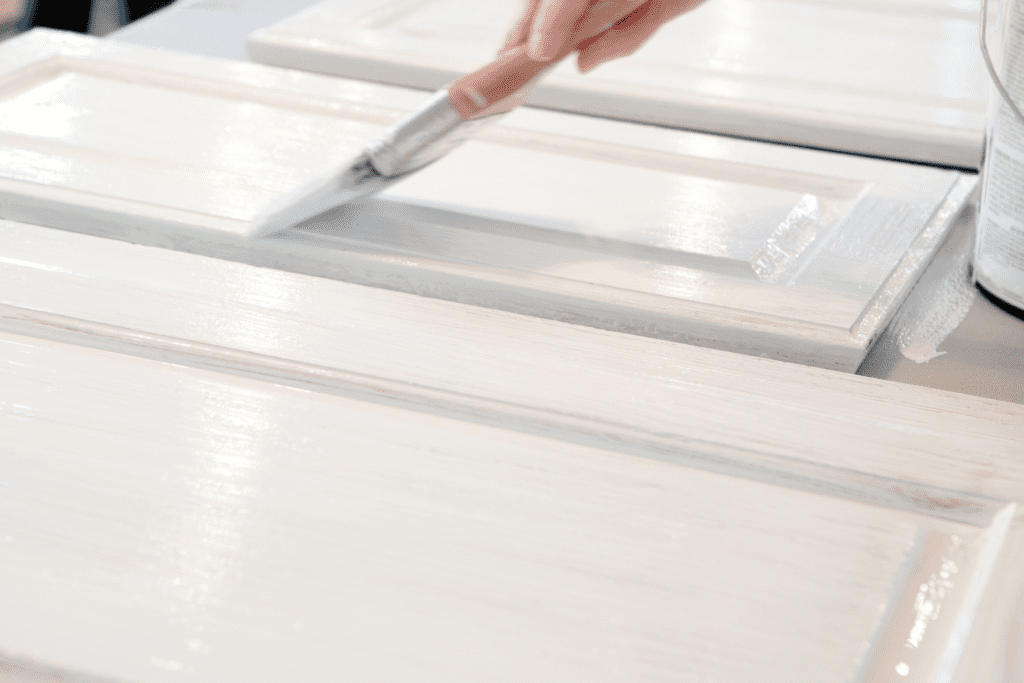
Cabinet paint can make an older kitchen look cleaner in a hurry.
Light colors usually help the room feel bigger, but even a deeper color can look fresh if the finish is smooth and the hardware feels current.
Prep matters more than people want it to.
Grease, dust, and skipped sanding will show up later, usually when the paint starts chipping.
I’d rather spend more time getting the surface ready than redo the whole project six months later.
If you’re staring at dark, dated cabinets, paint is still one of my favorite low-cost upgrades.
It gave my kitchen that “finally” feeling, like the room could breathe again.
Check out my journey of easy kitchen cabinet painting to upgrade your home.

Add a peel and stick backsplash for low-cost style

A backsplash is one of those small areas that carries a lot of personality.
Change it, and the kitchen often looks newer right away.
That’s why I love peel-and-stick tile for a budget update.
You can add pattern, texture, and brightness without dealing with grout, tile saws, or a messy install.
I like simple styles best, especially if the counters or cabinets already have some visual weight.
Too much pattern starts to feel busy fast.
For a simple weekend project, check out how to install kitchen peel and stick backsplash on a budget.

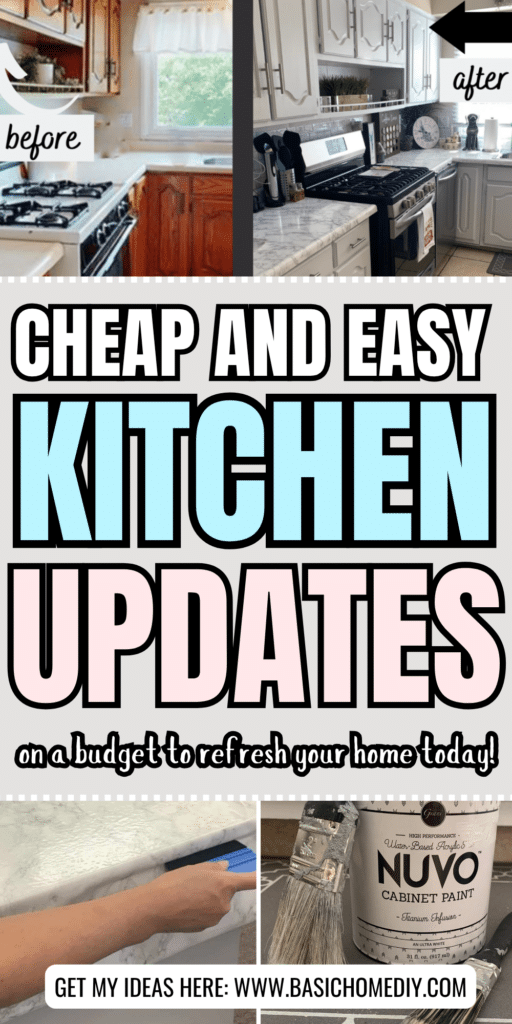
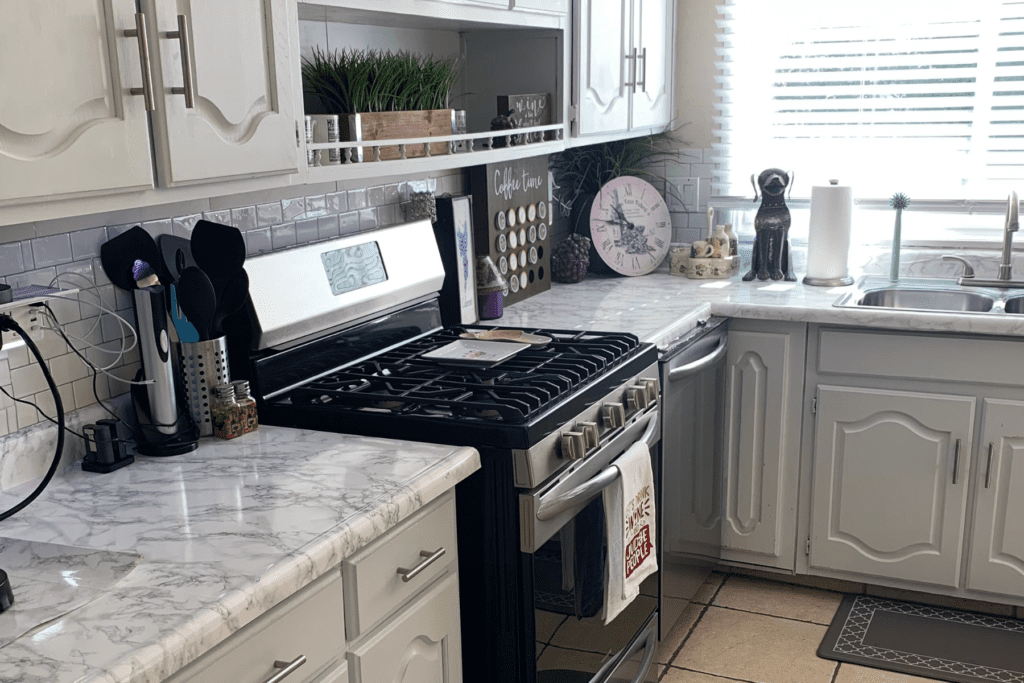
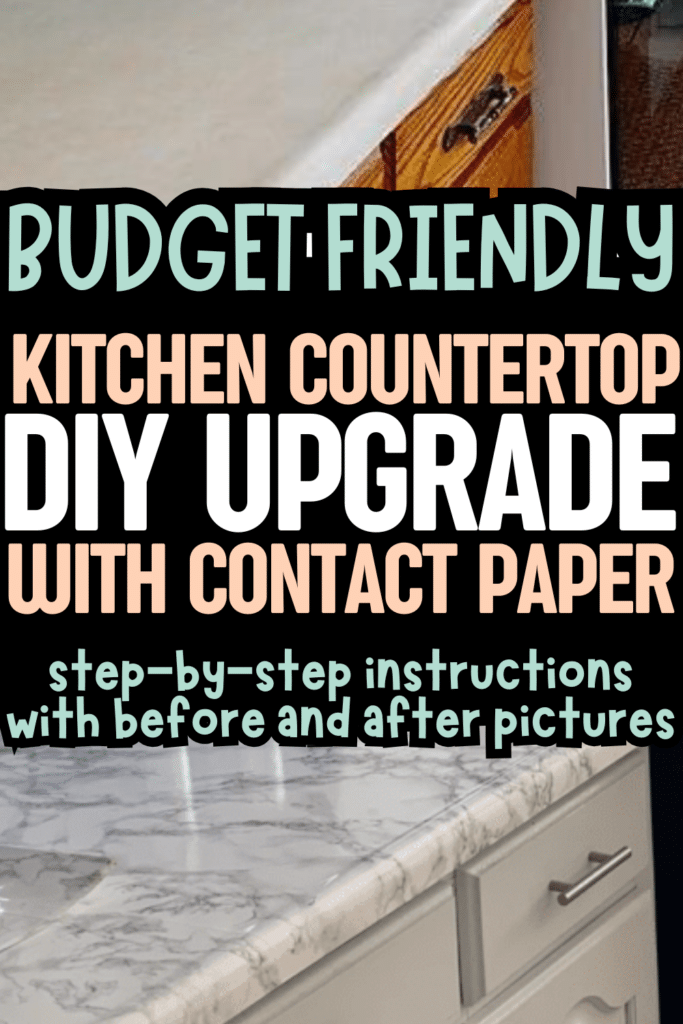
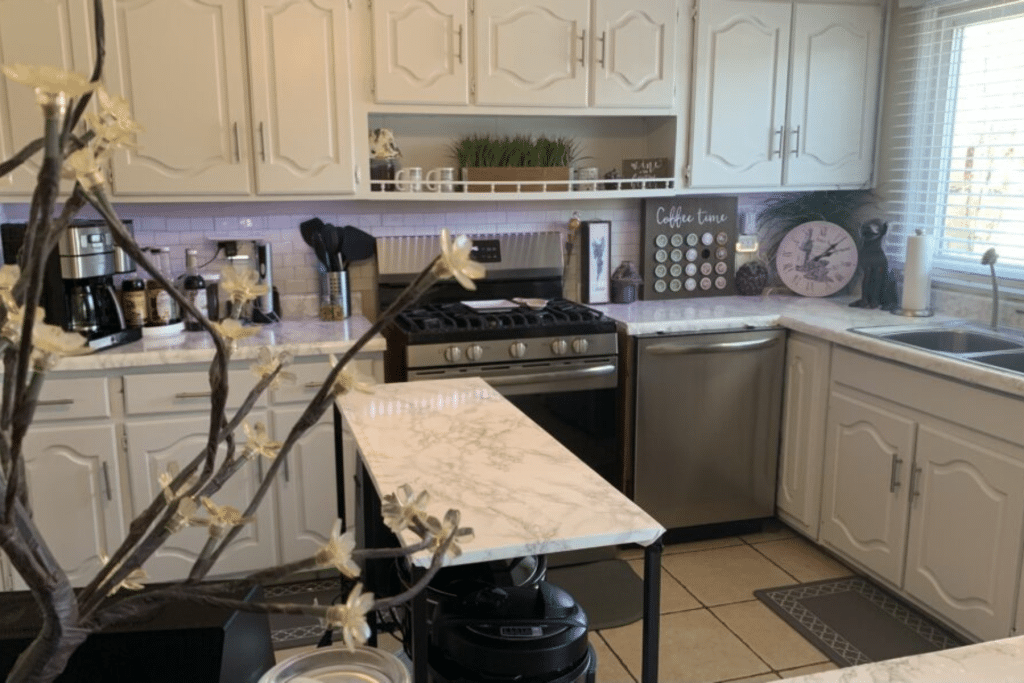
Cover dated countertops with a temporary upgrade

The original (1960s) laminate countertops in my kitchen really looked rough (and old!), and really brought down the whole space.
Even when my kitchen was clean, those worn-out counters really made my space feel unfinished and not what I wanted for my space.
But, brand-new countertops weren’t in our post-move budget, so we chose to try some temporary covers to help.
I transformed our kitchen in a day with a DIY countertop upgrade project of contact paper.
This upgrade project is especially handy in rentals or starter homes where you want an update without a huge investment.
For the step-by-step process I used, check out exactly how I refreshed and how to DIY upgrade kitchen countertops with contact paper.
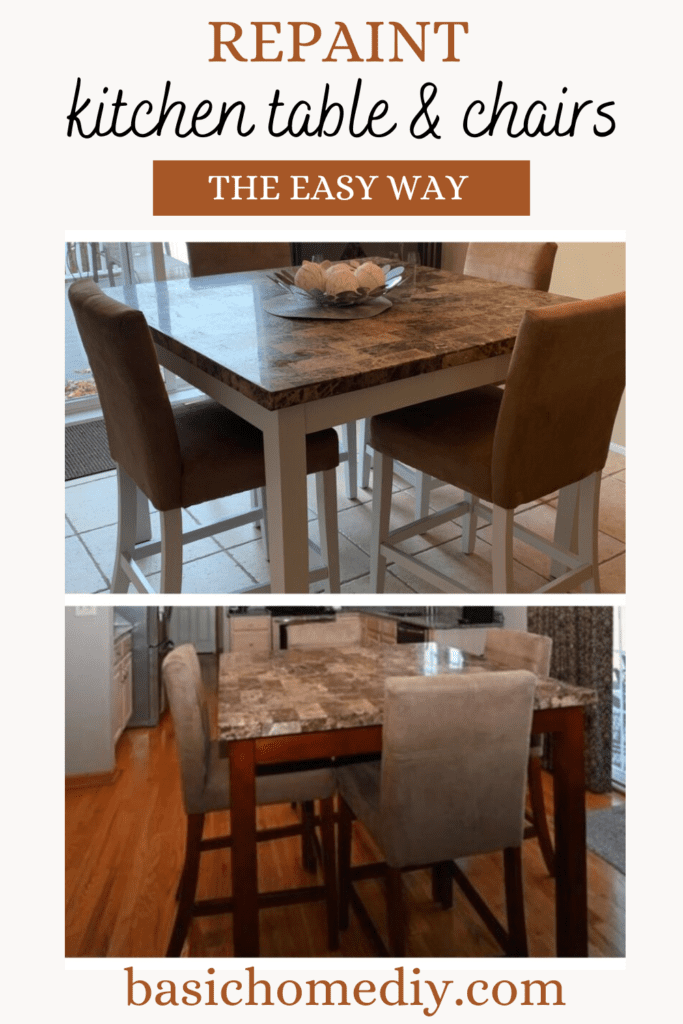
Make old kitchen tables and chairs look new again
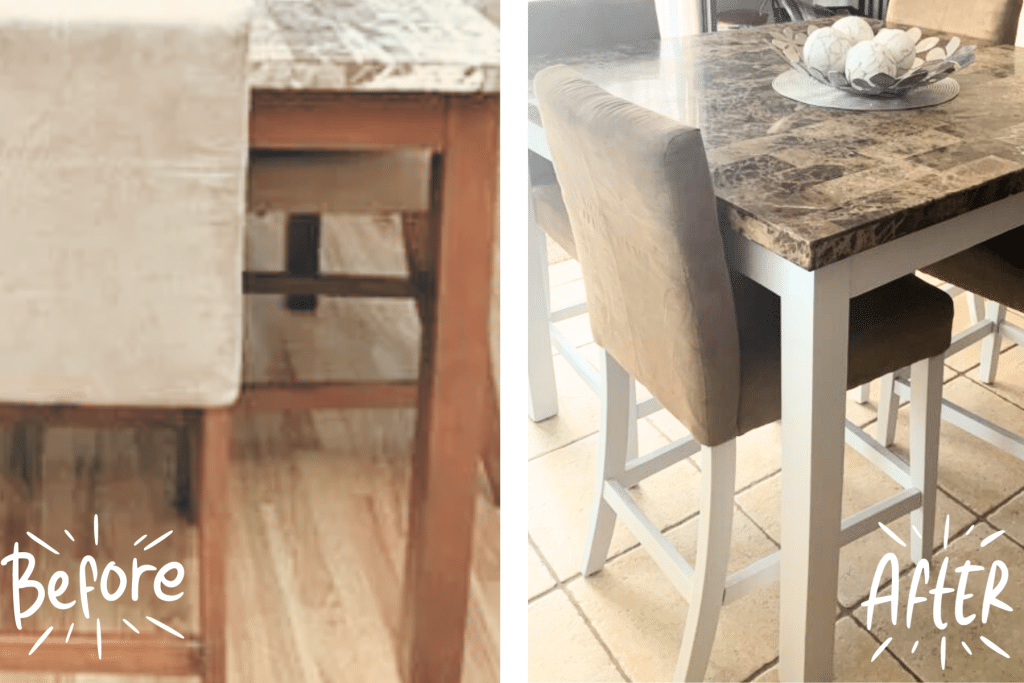
After refreshing the old kitchen and updating the colors, I decided I wanted my old kitchen table and chairs to match the new, white cabinet paint.
So, I added a fresh coat of paint that I used to paint my kitchen cabinets, and tied the whole room together.
See my entire process to repaint kitchen table and chairs the easy way.
Use small details to make budget updates look finished
This is the part people skip, and it’s often the part that makes a cheap update look polished.
I don’t mean filling the kitchen with decor.
I mean choosing a few details that make the room feel cared for.
Swap hardware, faucet style, and lighting for a fresh look

Small fixtures can change the mood of a kitchen faster than most people expect.
New knobs or pulls can wake up old cabinets.
A better faucet can make the sink area look cleaner and more current.
New lighting can fix that dull, flat feeling that makes everything look dated.
I like to keep these choices simple.
If the cabinet style is traditional, I don’t force something ultra-modern.
If the kitchen is plain, I might use hardware or a light fixture to add a little character.
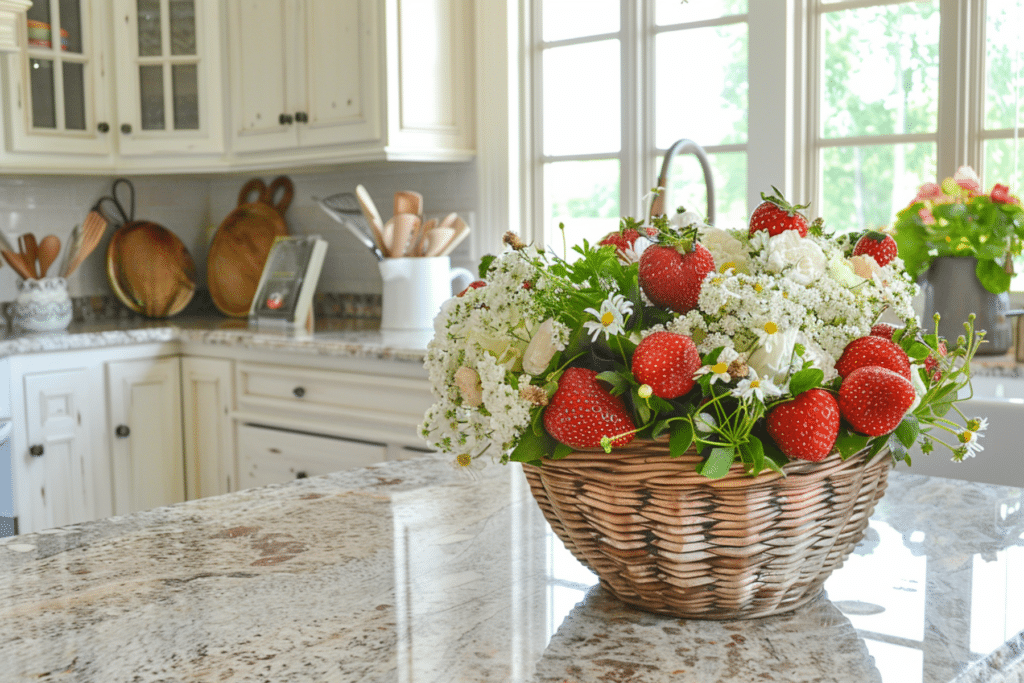
Style the counters with fewer, better-used items

A crowded counter makes even a nice kitchen feel smaller.
I learned this the hard way.
Now I keep only the things I use often and the things that earn their spot.
A wood tray by the stove, a crock for utensils, a small plant, maybe a bowl of fruit. That’s plenty.
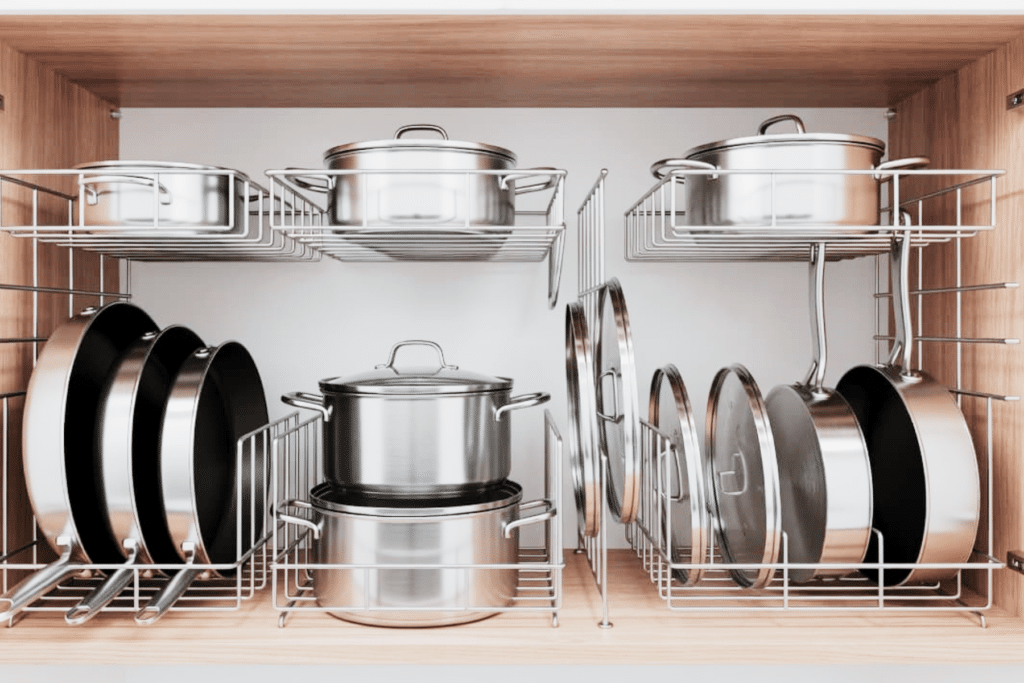
Pretty storage helps too.
Like knowing the best way to store pots and pans, as well as canisters, baskets, and trays, makes everyday items look more organized instead of scattered.
The goal isn’t to decorate every inch.
The goal is to let the kitchen breathe.
Add inexpensive color and texture with everyday decor
This is where I bring in warmth.
Choose a popular kitchen decorating theme to complete your space.
A washable rug, new dish towels, a simple curtain, or one framed print can soften a kitchen without cluttering it.
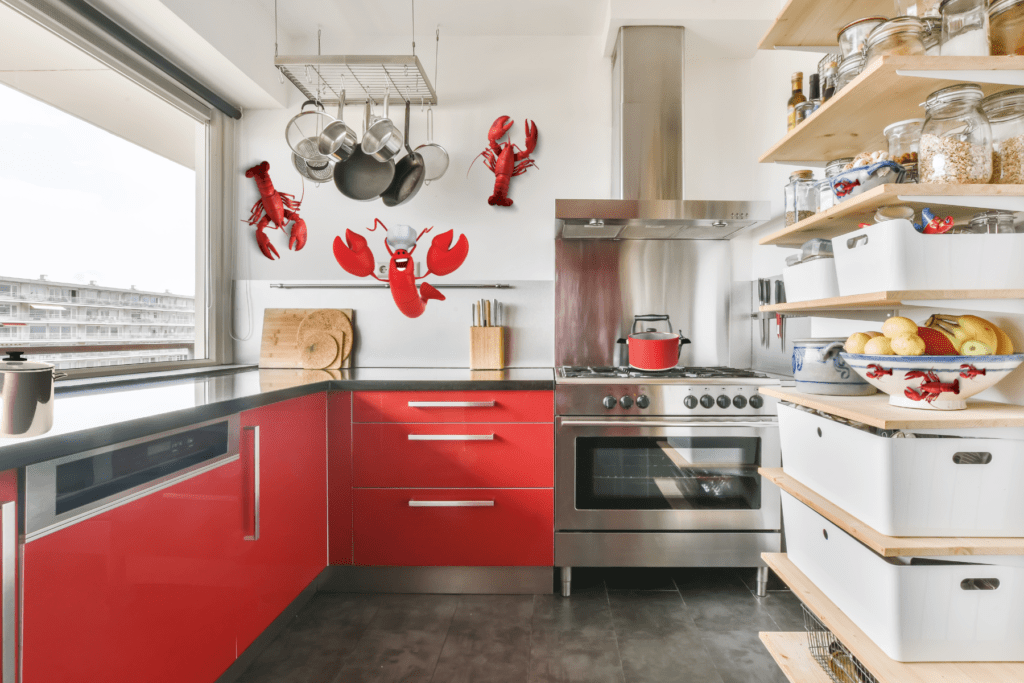
I also like using one theme idea thread through the room.
Maybe that’s a coastal lobster theme, or maybe a classic and simple fruit kitchen decor theme.
A little repetition makes the space feel pulled together.
If you need help choosing a look before you buy anything, collecting a few inspiration images first can keep you from making random choices you’ll regret later.
How I would plan a budget-friendly kitchen update step by step

When money is tight, I don’t shop first.
I plan first.
That one habit saves me from the classic mistake of buying a bunch of cute things that don’t solve the real problem.
Set a realistic budget before buying anything

I start with a hard number, not a wishful one.
Then I split it between the updates that matter most and the supplies people always forget, paint brushes, cleaner, sandpaper, caulk, and all those little extras that add up.
I also leave a little wiggle room.
Something always costs more than I think it will, and I don’t like getting halfway through a project and stopping over a much-needed supply run.
Choose projects that match your time, tools, and skill level
Easy wins are better than ambitious projects that sit unfinished for months.
If you have one weekend and basic tools, pick something you can complete in that time.
That might be painting cabinets, swapping hardware, or adding a backsplash.
It probably isn’t reworking plumbing or tearing out half the kitchen.
I like finished projects more than impressive plans.
Know when a budget update is enough and when to wait
Not every problem needs a cosmetic fix.
If something is damaged or wearing out, I would rather wait and save for the right replacement than throw money at a short-term patch.
But when the problem is mostly visual, a temporary update can make a lot of sense.
They buy you time, improve the look, and help the kitchen feel better while you save for bigger changes later.
That balance matters.
Sometimes “good for now” is the smartest choice in the room.
Final Thoughts
I know what it’s like to stand in a dated kitchen and want it to feel lighter, prettier, and more like you, without spending a fortune.
I also know how much a few small, smart updates can change the way the whole room feels.
My own kitchen taught me that progress beats perfection every time.
Start with one project, keep your plan simple, and let the room improve step by step.
Want to plan your home upgrades around your budget? Grab a 71-page free printable budget planner below, and we’ll send it straight to your inbox.
Want more great DIY and everything home ideas? Be sure to follow us on Flipboard, Pinterest, Instagram, Facebook, and X for the latest posts, tips, and ideas.
Your Turn
Now it’s your turn. Have you ever completed a cheap and easy kitchen upgrade on a budget? Which project was your favorite? Are you trying any of the ideas above to update your space? Let me know in the comments.
RELATED POSTS:
- Transform Your Kitchen in a Day: 14 Easy DIY Countertop Upgrade Steps
- Repaint Kitchen Table and Chairs the Easy Way with These 12 Steps
- Easy Steps to Kitchen Cabinet Painting
- Upgrade Your Kitchen on a Budget
- Install a Kitchen Peel-and-Stick Backsplash on a Budget
- Easy Kitchen Remodel Ideas on a Budget
- 20 Kitchen Decorating Theme Ideas for Every Home