Are you ready to upgrade your home and are searching for easy and quick solutions? If so, you’ve come to the right place to learn the best tips to install a kitchen peel and stick backsplash on a budget. Keep reading to learn how today.

Revamping your kitchen doesn’t have to involve a full-scale renovation or a hefty price tag.
One of the easiest and most effective ways to give your space a fresh, modern look is by updating the backsplash.
Enter the world of DIY peel and stick backsplashes – a budget-friendly and hassle-free solution that allows you to transform your kitchen in a matter of hours.
Whether you’re aiming for a sleek, contemporary vibe or a cozy, rustic feel, peel and stick tiles offer endless design possibilities.
After updating my own kitchen with a peel and stick backsplash, I’m here to help you choose, install, and maintain your new backsplash, making your kitchen makeover as quick and seamless as my home DIY project.
So, grab a cozy drink, sit back, and let’s get into it to help you add a budget peel and stick backsplash to your home today.
I may earn a small commission for affiliate links in this post at no extra cost to you. Please read my privacy policy and privacy page for more information. As an Amazon Associate, I earn from qualifying purchases.
1. Prepare Workspace Before Installing the Kitchen Peel and Stick Backsplash
The first step in any successful backsplash installation is thorough preparation.
Start by clearing the area of all items that could get in the way, such as appliances, utensils, and kitchen decor.
If you have an existing backsplash or wall covering, carefully remove it to expose the bare wall.
Cleaning the wall surface is key for ensuring proper adhesion.
Use a mild detergent and water solution to scrub away any grease, dust, or residues.
It’s important that the wall is completely dry before you start applying the peel and stick tiles.
Extra preparation is important to set the stage for a smooth installation backsplash process and ensure that your kitchen tiles adhere properly.
2. Choose Your Peel and Stick Backsplash

Selecting the right peel and stick subway tile is essential for achieving the look you want.
These tiles are available in various designs, but a classic subway tile backsplash is a popular choice due to its timeless appeal.
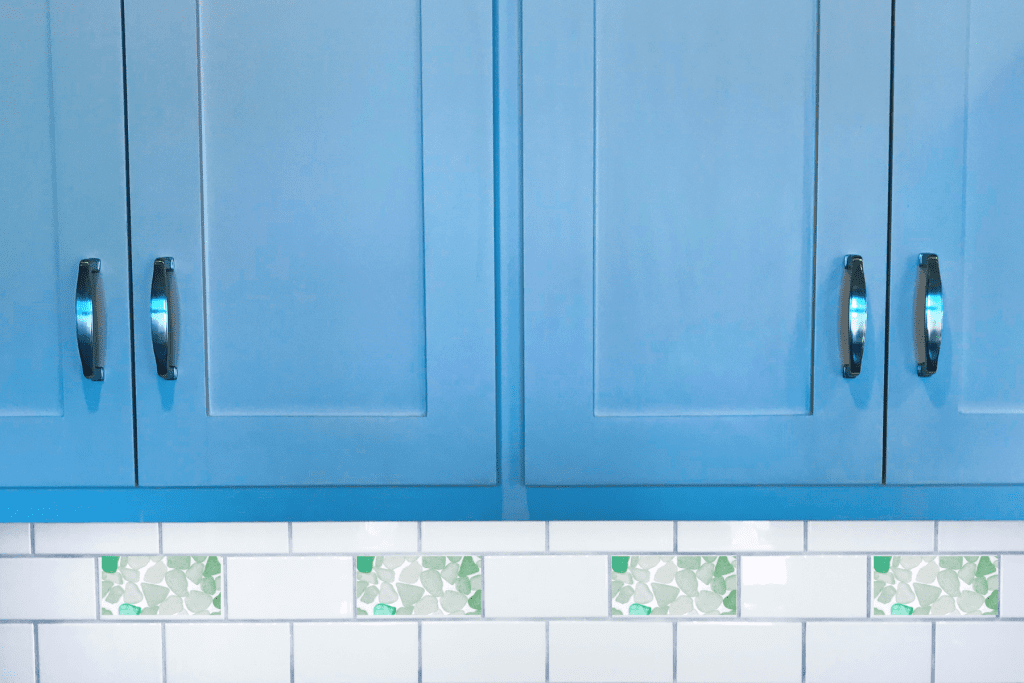
Choosing a groutless tile can simplify your DIY home project, as it eliminates the need for grout and reduces cleaning time.
When choosing your sticky tiles, consider the overall aesthetic of your kitchen and how the new backsplash will fit with your existing decor.

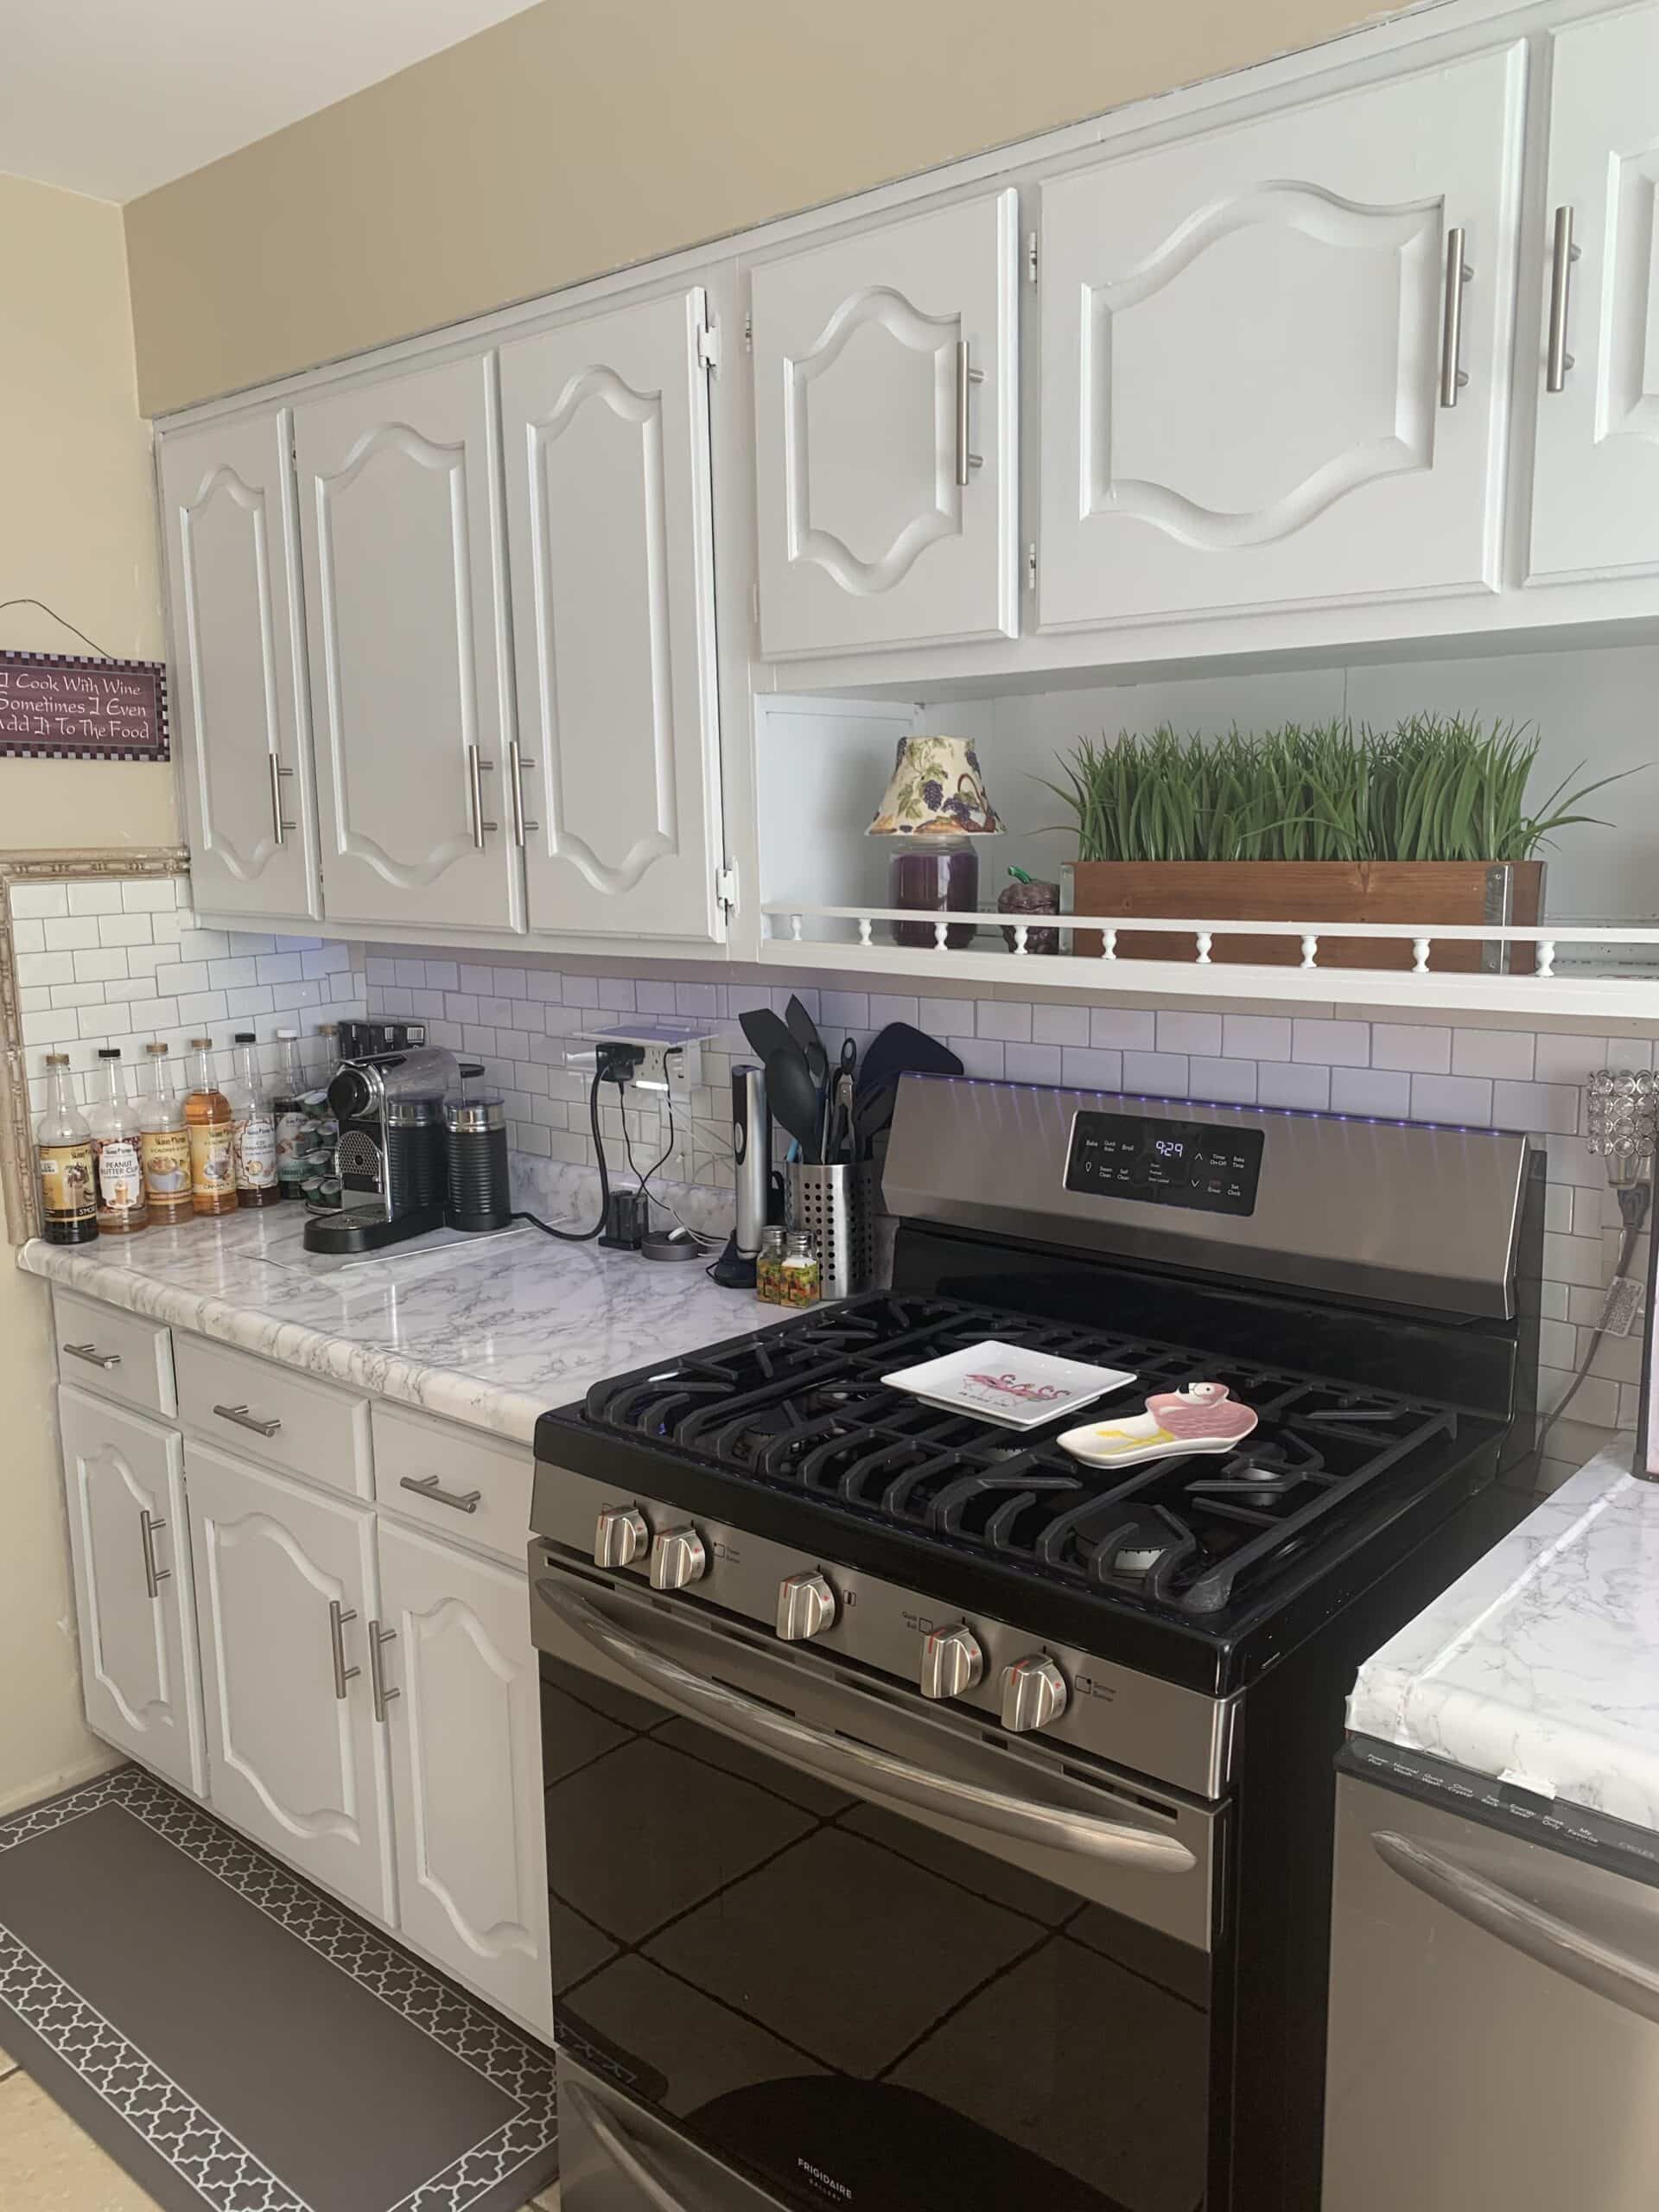
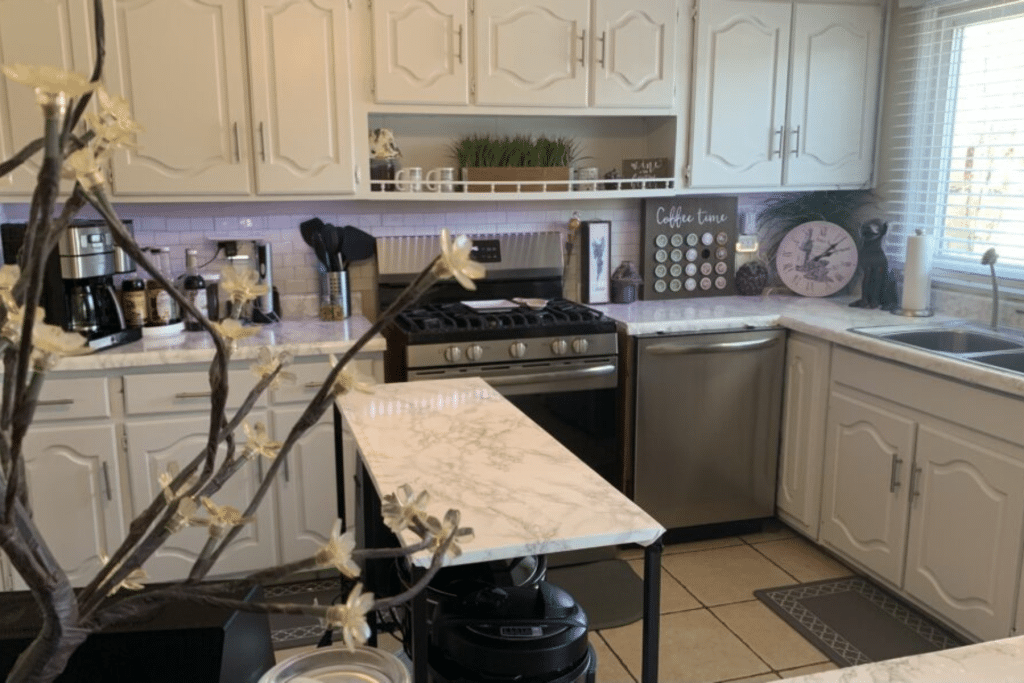
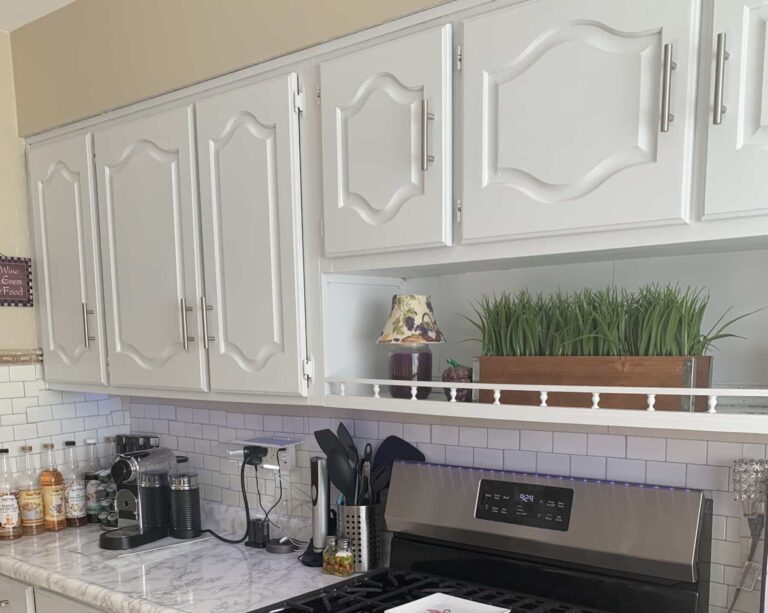
I chose the white peel and stick subway tile backsplash (as pictured above) as I was searching for budget-friendly options, style, and convenience.
3. Measure and Plan to Install a Kitchen Peel and Stick Backsplash
Accurate measurements are important for a successful backsplash installation.
Begin by measuring the area where you intend to apply your new peel and stick tile.
Take precise measurements of the height and width of the space to determine how many tiles you’ll need.
It’s always a good idea to purchase a few extra tiles to account for any errors or future repairs.
Create a detailed layout plan to ensure that the tiles will be evenly spaced and aligned correctly.
This planning step is key for achieving a professional appearance and avoiding potential issues during your installation process.
4. Cutting and Trimming the Backsplash Sticky Tiles

Once you have your tiles ready, you’ll need to cut and trim them to fit your kitchen space.
Peel and stick tiles are designed to be easily cut with a utility knife or scissors, allowing you to tailor the tiles to your specific measurements.
For edges and corners, make precise cuts to ensure a snug fit.
This step might seem straightforward, but careful cutting is essential to avoid mistakes and achieve a clean, polished look.
Many easy kitchen backsplash ideas involve straightforward trimming techniques that don’t require specialized tools.
Take your time with this step to ensure that every tile fits perfectly and the overall design is cohesive.
5. Apply the Peel and Stick Backsplash Tiles

With your tiles cut and prepared, you can begin the installation process.
Start applying the tiles at the center of the wall and work your way outward to ensure an even distribution.
Carefully peel off the backing from each tile and press it onto the wall, beginning at the bottom and moving upward.
Use a smoothing tool or a clean cloth to press the tiles firmly against the wall, which helps eliminate air bubbles and ensures a strong bond.
As you apply each tile, check for alignment and adjust as necessary.
For tile in the kitchen projects, making sure each tile is securely attached and properly aligned is key to achieving a polished and professional finish.
6. Finishing Touches for Installing a Kitchen Peel and Stick Backsplash
After all the tiles are installed, take some time to inspect the backsplash for any gaps or imperfections.
If you find any small gaps or edges that need attention, use a small amount of adhesive or caulk to fill them in.
This final step helps ensure that your peel and stick subway tile backsplash looks seamless and well-finished.
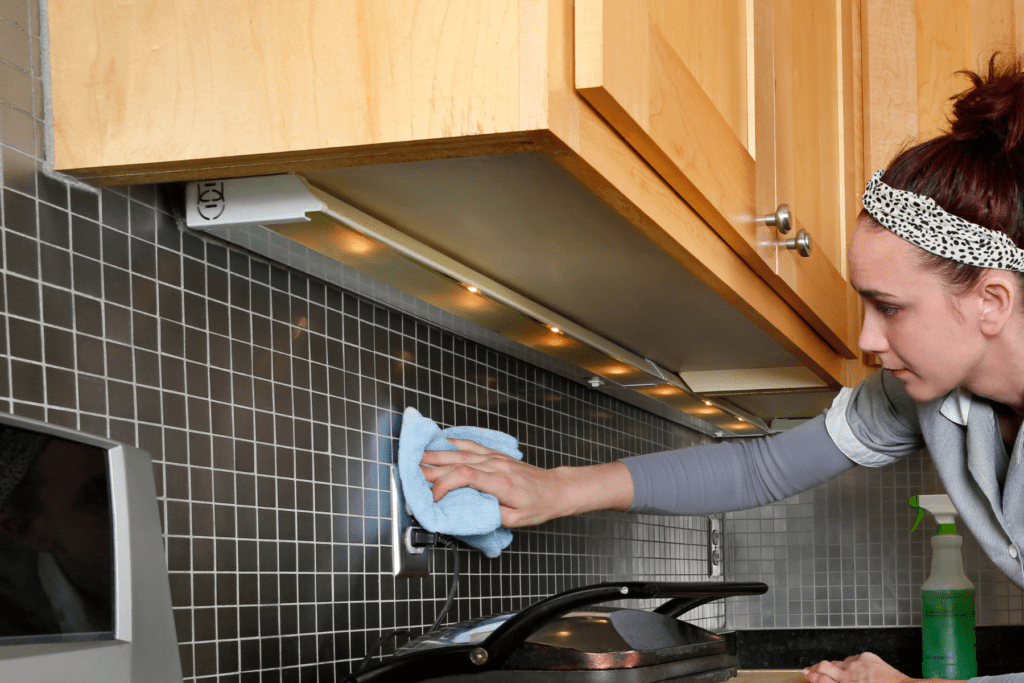
Once everything is in place, clean the tiles with a mild cleaner to remove any adhesive residue or dirt from the installation process.
Your new sticky tile backsplash should now be complete and ready to enhance your kitchen.
7. Maintain the New Kitchen Peel and Stick Backsplash

One of the major advantages of using peel and stick subway tile is its low maintenance.
Unlike traditional backsplashes that require grout, peel and stick tiles are easy to clean and maintain.
Regularly wipe down the tiles with a damp cloth to keep them looking fresh and free of stains.
Avoid using abrasive cleaners or scrubbing pads that could damage the tile surface.
By maintaining your peel and stick backsplash properly, you’ll ensure that it continues to look great and provide lasting value for years to come.

Final Thoughts
As someone who has personally used peel-and-stick subway tile in my own kitchen, I can wholeheartedly recommend this option for anyone looking to update their home with an easy and quick DIY project.
The budget-friendly process was incredibly straightforward, and the results exceeded my expectations.
The peel and stick subway tile not only added a stylish touch to my kitchen but also transformed it with minimal effort and cost.
What impressed me most was how quickly I was able to achieve a fresh, modern look without the need for grout or complex installation procedures.
The tiles adhered perfectly to the wall, and their maintenance has been a breeze – even after several years.
If you’re considering a kitchen refresh, I encourage you to try this DIY method.
Are you searching for some great free printable wall art ideas for your kitchen? Check out this free botanical wall art below, and we’ll send it directly to your email!
Want more great DIY and everything home ideas? Be sure to follow us on Flipboard, Pinterest, Instagram, Facebook, and Twitter for the latest posts, tips, and ideas.
Your Turn
Are you ready to upgrade your home? What do you think about installing a kitchen peel and stick backsplash at your home? Let me know in the comments.
RELATED POSTS:
- 14 Easy Steps to DIY Cheap Countertop Upgrade
- Cheap and Easy Kitchen Updates On a Budget That Make a Big Difference for Less
- Easy DIY Budget Kitchen Remodel Ideas to Makeover for Less
- 18 Easy Kitchen Cabinet Painting Steps to Upgrade Your Home
- Repaint Kitchen Table and Chairs the Easy Way
- 20 Kitchen Decorating Theme Ideas for Every Home
- Inexpensive Home Updates: Easy DIY Projects for Every Room


Thanks for the information
Hi Twila!
You’re welcome!
Thank you for reading!
Your article provides great tips for someone like myself who is not a DIYer! I think I will try this to dress up a dreary laundry room!
Hi Stephanie!
I’m so excited you found the tips helpful. Using a peel-and-stick backsplash in the laundry room is such a great idea!
Thank you for the suggestion and reading!
I’m currently renting a newly built home with no backsplash at all! This is a great resource to help me get it to something more “homey” at a low cost 🙂
Hi Catia!
You will love the peel-and-stick backsplash. It’s so budget-friendly and “homey” for a newly built rental home.
Thank you for reading!
Thanks for sharing these tips, I will consider them should I plan some changes for my kitchen.
Hi John!
You are very welcome! I’m glad you enjoyed the kitchen peel-and-stick backsplash ideas.
Thank you for reading!
We don’t have it for our kitchen but reading this. I find it interesting and would be best for it. I will share it with the family. Thank you for sharing!
Hi Fransic!
I’m excited you enjoyed the post and hope your family likes it as well.
Thank you for reading!
Have seen others do this and it looks so good! I feel like I would definitely mess this up hahaha
Hi Deanna!
Give it a try! The peel-and-stick kitchen backsplash is really very simple – you’ll do you!
Thank you for reading!
I definitely need to try this! Thank you for laying out the steps simply. Looks beautiful! Does it hold up well?
Hi Ashley!
I hope you try to add a kitchen peel-and-stick backsplash thye really are beautiful. In my experience, the one I featured in the post is more than a year old and hasn’t lifted or shown any signs of wear. I highly recommend it to all my friends and family.
Thank you for reading!
This was very informative. It is very coincidental that I just asked my landlord to add a backsplash to my kitchen wall. I will definitely be sharing your recommended backsplash with her. Thanks for sharing.
Hi Kevin!
I hope your landlord will allow you to add a backsplash – they really make the kitchen look great!
Thank you for reading!
Bookmarking for later, I’ve been saying I’m going to do this for years and might actually get around to it after christmas!
Hi there!
I hope you are able to install a kitchen peel-and-stick backsplash after Christmas. They are so easy and look fabulous.
Thank you for reading!
I have been considering doing this in our kitchen soon – ours is a 1950s house, and I have no idea when the kitchen was last renovated…if ever! I think a new backsplash would be a great next step to prettying it up!
Hi Makayla!
It’s amazing what a new kitchen peel-and-stick backsplash can do to transform a home. My house is from the 1960s and it made a world of difference.
Thank you for reading!
Great article! This looks like something I could do based on your tips. Will check out these products.
Hi Stephanie!
You could totally install a kitchen peel-and-stick backsplash. It was a simple project that created a big impact in the kitchen.
Thank you for reading!
I love the idea of using peel and stick backsplashes. They’re so much easier, and they look really good!
Hi Beth!
Installing a kitchen peel-and-stick backsplash is so much easier. I agree – they really do look good. It’s an easy kitchen upgrade with a huge impact!
Thank you for reading!
This is a great alternative for a low cost pick me up for the home! Enjoyed the post!
Hi Susan!
I love bringing low-cost options to readers. The tips to install a kitchen peel and stick backsplash on a budget were all about being easy on the wallet!
Thank you for reading!
I’d love to redo our kitchen backsplash. The one we have now is tile, though, so it would have to be removed before we can do a new one.
Hi Stephanie!
It is possible (depending on the tile) to install a kitchen peel and stick backsplash over the existing tile. I actually did put the peel and stick over the tile – however, the tile was on the flat side to begin.
Thank you for reading!
I also use backsplash in our house because they’re way easier to install and affordable. Thank you for these tips!
Hi Tweenselmom!
I agree! The kitchen peel and stick backsplash is very easy to install and super affordable.
Thank you for reading!
My brother is redecorating his apartment, I will recommend this to him.
Hi Sonia!
I hope your brother enjoys the install a kitchen peel and stick backsplash on a budget instructions. They are very easy and affordable.
Thank you for reading!
We’re looking into installing a new kitchen backsplash to liven the place up this year but had no clue where to start! I had no idea you could get peel-and-stick ones!
Hi Nyxie!
I hope you were able to get tips on how to install a kitchen peel and stick backsplash on a budget. The backsplash is very easy to work with.
Thank you for reading!
I found this post at the perfect time! I’d like to do a budget-friendly kitchen remodel soon! I used the peel-and-stick backsplash in my bathroom, and it has held up great.
Hi Patricia!
I’ve thought about adding the peel and stick backsplash to my bathroom as well. Great tips! I hope you are able to install a kitchen peel and stick it to your home as well.
Thank you for reading!
I think I just might do a backsplash soon. I like the one with the little black and white boxes!
Hi Ntensibe!
There are so many great and easy choices on how to install a kitchen peel and stick backsplash. I hope you’re able to install one soon.
Thank you for reading!
This is a great alternative. I was thinking of hiring a carpenter to install a new one for us but I think this is a great idea since it doesn’t cost much. Thank you for the tips on how to install one. Bookmarking your post to serve as a guide.
Hi Clarice!
I’m so glad you found the post. It’s very easy to install a kitchen peel and stick backsplash and I hope you love your kitchen update.
Thank you for reading!