Do your kitchen countertops look old, outdated, and just plain drab? Then this DIY cheap countertop upgrade is perfect for you.
I may earn a small commission for affiliate links in this post at no extra cost to you. Please read my privacy page for more information. As an Amazon Associate, I earn from qualifying purchases.
Table of Contents
- How Did My DIY Cheap Countertop Upgrade Begin?
- Step 1: Get the Perfect Countertop Measurements First
- Step 2: Grab the Right DIY Kitchen Countertop Upgrade Materials
- Step 3: Prepare to Lay the Countertop Paper on the Countertop
- Step 4: Measure the Countertop Area Before Cutting the Paper
- Step 5: Separate the d-c-fix Contact Paper and Start the Process
- Step 6: Attach d-c-fix Contact Paper to the Surface Slowly
- Step 7: Smooth d-c-fix Contact Paper Across Countertop
- Step 8: Attach d-c-fix Contact Paper with Great Tools
- Step 9: Cut Excess Contact Paper
- Step 10: Smooth the d-c-fix Contact Paper Edges Under Countertop
- Step 11: Heat Up the Area to Adhere d-c-fix Contact Paper to Countertop
- Step 12: Trim and Clean Contact Paper from the Countertop
- Step 13: Turn up the Heat Again on This DIY cheap Countertop Upgrade
- Step 14: DIY Cheap Countertop Upgrade Around the Kitchen Sinks
When we moved into our straight-from-the-1960s home – the first thing needing attention was the kitchen.
I wanted a DIY cheap countertop upgrade option for a quick and easy change.
After moving expenses, our budget was tight.
I was looking for something to brighten up the space without crushing my wallet.
We focused hard on upgrading our kitchen to a more modern and bright space.
So, let’s get into it!
Here’s how my DIY cheap countertop upgrade project started.
How Did My DIY Cheap Countertop Upgrade Begin?
After searching on Pinterest, I found several d-c-fix Self Adhesive Peel and Stick Waterproof Contact Paper tutorials.
With a quick search on Amazon, my DIY cheap countertop upgrade project began.
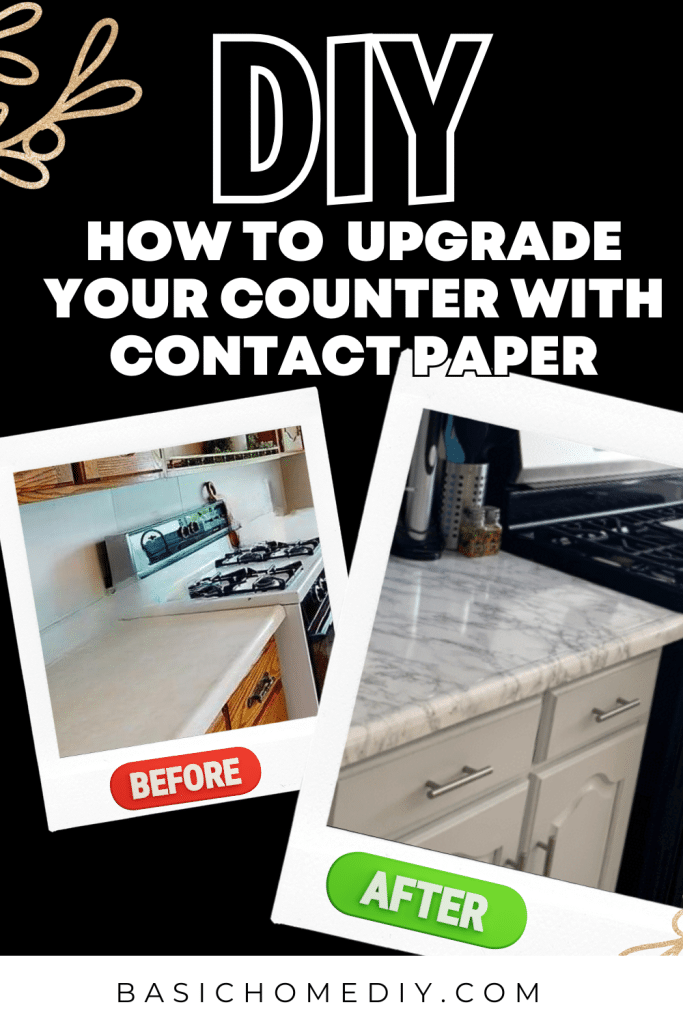
Working with the d-c-fix contact paper my kitchen has been transformed from blah to wow in just a few short, easy steps.
Beginner-friendly, the contact paper is incredibly easy to work with. Plus, it’s perfect for countertops because it’s waterproof.
When I searched for something to overlay it needed to be waterproof for cleaning and usage near my kitchen sink.
In addition to kitchen countertops, d-c-fix contact paper can be used in bathrooms, workplace cash wraps, RVs, desks, dresser tops, chest of drawer’s tops – the list is endless.
Read on for easy ways how to use d-c-fix Self Adhesive Peel and Stick Waterproof Contact Paper at your home.
After seeing pictures of my home DIY cheap countertop upgrade, I got a request to update a cash wrap counter at a local business.
I documented my project step-by-step to help showcase the process and easy-to-follow directions on how to accomplish the DIY cheap countertop upgrade from start to finish.
Step 1: Get the Perfect Countertop Measurements First
Let’s start at the beginning – purchase your contact paper to get the project started.
Before purchasing the d-c-fix contact paper – make sure to buy enough to finish the entire project.
I recommend purchasing a little extra just in case you cut it wrong or measured it incorrectly.
Step 2: Grab the Right DIY Kitchen Countertop Upgrade Materials
The next step in a DIY cheap countertop upgrade project is ensuring you have the best tools.
One of my favorites is the Wallpaper Smoothing Toolkit.
Although it’s not completely necessary, I’ve tried using my hands and scissors – it’s much faster, easier, and more precise with the proper tools from this kit.
- Wallpaper Toolkit
- Multiple sizes of smoothing tools
- Measuring tape
- Craft knife
- Paper cutter
- Hair dryer
- d-c-fix contact paper or contact paper of your choice
- Cleaning agents such as Windex
- Clear Caulk
- Scissors
Step 3: Prepare to Lay the Countertop Paper on the Countertop
Moving right along in the DIY cheap countertop upgrade project is the preparation portion.
Make sure to thoroughly clean the countertop with Windex before beginning the project.
Allow it to completely dry before starting.
Step 4: Measure the Countertop Area Before Cutting the Paper
The next step is to measure the workspace. In this case – that’s the countertop.
Be sure to cut the contact paper to fit the surface before separating it from self-adhesive paper.
Trim the excess and save it in case needed later.

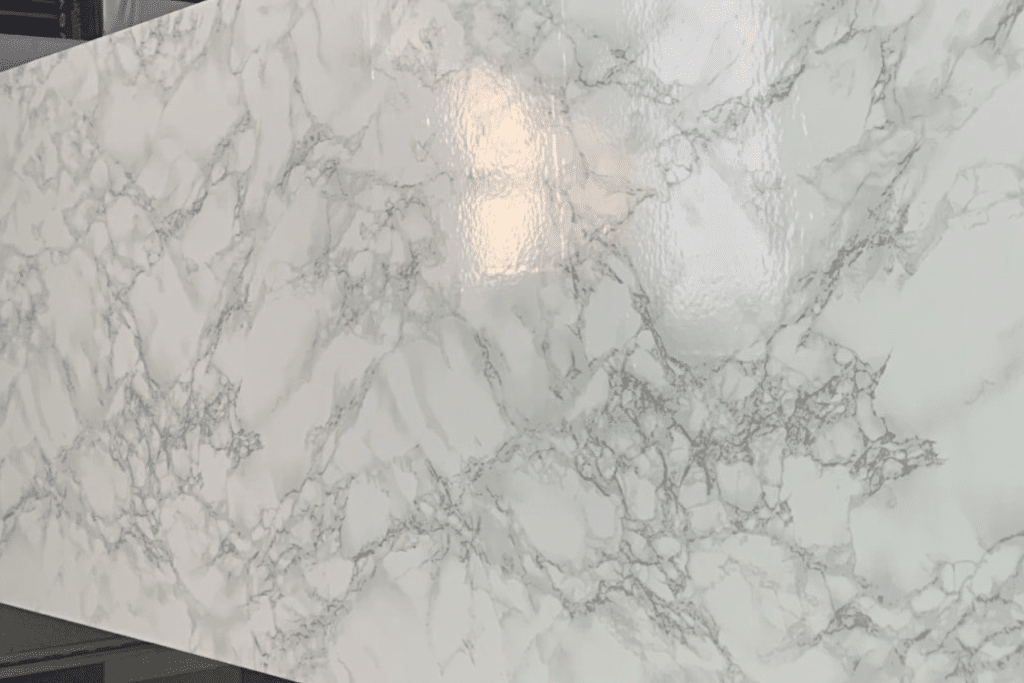
Note: The countertop I updated was almost the size of the contact paper roll, so I had minimal trimming. However, if you are updating an odd-sized space, you may need to create two rows of side-by-side panels. See the picture below of my updated countertops from my home update.
Pro tip: When you are working with odd-shaped surfaces – measure repeatedly. It can be difficult to cut properly. Reserve any extra pieces of contact paper in case you must piece together odd areas in the future. This happened on my home countertop update project.
Step 5: Separate the d-c-fix Contact Paper and Start the Process
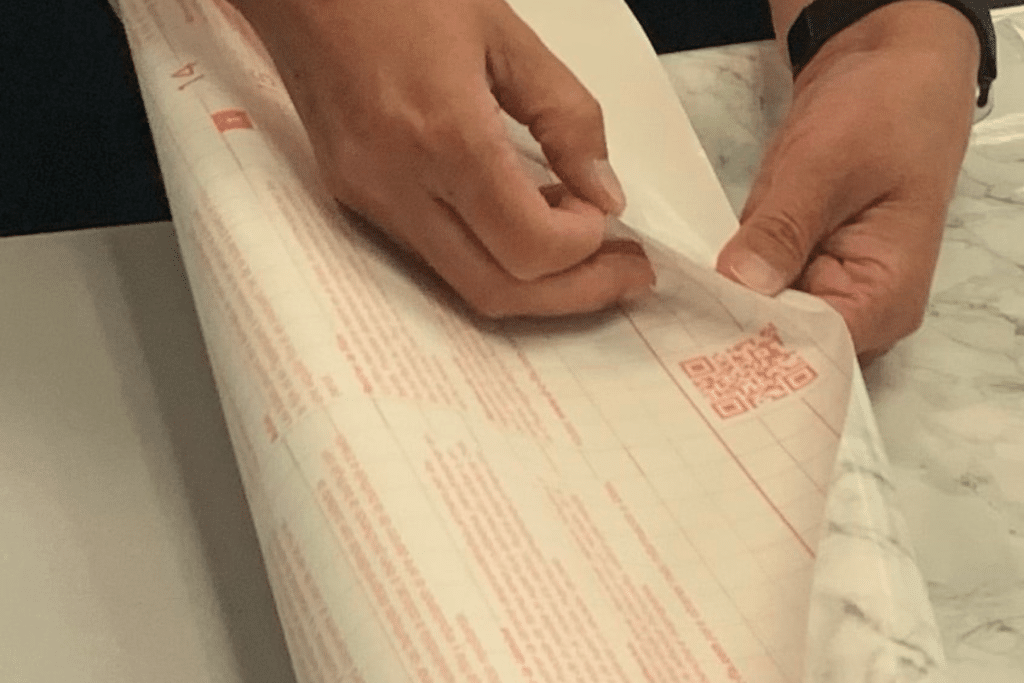
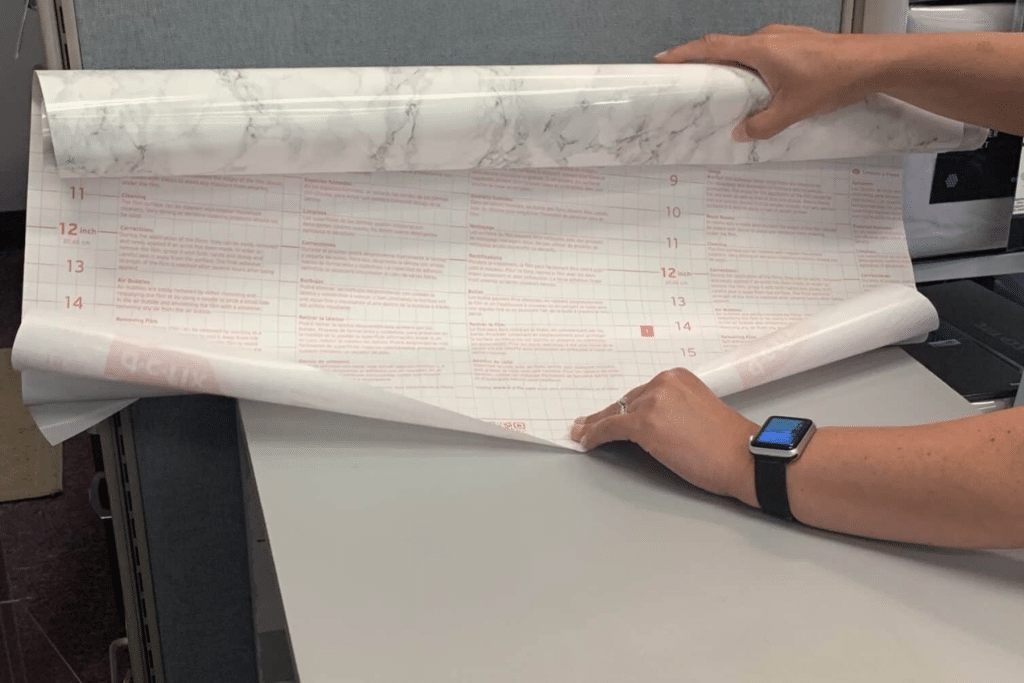
The most important thing is to separate the paper from the roll slowly.
Start with one corner, then separate at the middle then the other end.
Be careful not to tear the paper.
Once you have the end open – move on to the next step.

Step 6: Attach d-c-fix Contact Paper to the Surface Slowly
This step is very important.
Make sure to start with the paper evenly across the countertop on one side of the workspace.
Just place about an inch onto the workspace. If you miss-align – simply pick up and readjust.
It won’t be too sticky – it’s so easy to work with!
Pro tip: Take extra care to make sure it’s straight. If it becomes uneven, it will not line up as you move across the countertop. You can pick up and realign often but try to start it evenly at the beginning for a smoother application overall.
Step 7: Smooth d-c-fix Contact Paper Across Countertop
Moving along. It’s time to start smoothing the d-c-fix contact paper.
I’m right-handed so I hold the sticky side in my right hand and apply it to the countertop.
Then I use a smoothing tool to smooth it while I slowly open the adhesive roll with my left hand.
Pro tip: Use a smoothing tool to ensure bubbles don’t form, and keep, slowly unwinding, until the paper has been laid out.
Pro tip: Pull from the bottom detaching from the roll with one hand while using a smoothing tool with the other.
Step 8: Attach d-c-fix Contact Paper with Great Tools
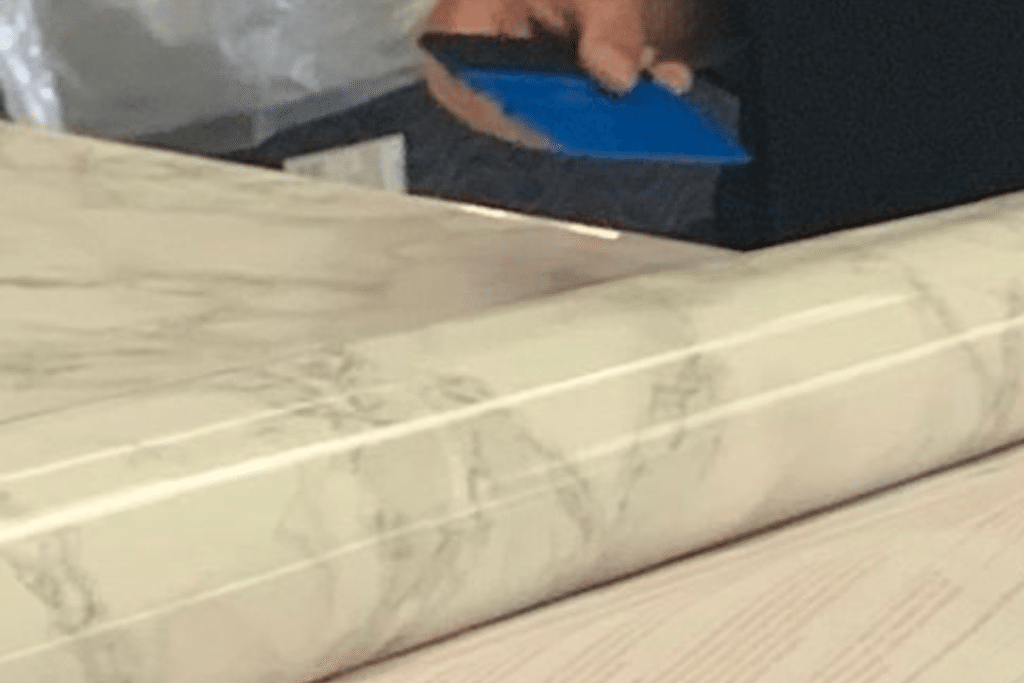
Once the paper has been fully attached to the countertop pull over the sides and begin to secure it with a smoothing tool.
I like the blue tool with a soft side to not damage the contact paper or chance of ripping it.
Step 9: Cut Excess Contact Paper
Now it’s time to start fitting the contact paper to the countertop.
For this step, you’ll cut the excess contact paper with a craft tool or scissors.
Pro tip: To attach corners of the paper, make small slits and slightly fold one end over the other. (Don’t worry if it’s not perfectly sticking to the countertop corners – we’ll work on this later.)
Step 10: Smooth the d-c-fix Contact Paper Edges Under Countertop
Now you’re attaching the paper to the countertop underneath.
This step is important, so it doesn’t pull up in the future.
By using the smoother tool, you create hard, visible lines making trimming easier in future steps.
Step 11: Heat Up the Area to Adhere d-c-fix Contact Paper to Countertop
To make this next step as quick and easy as possible – I use a hair dryer.
I’ve found it’s the perfect way to adhere the contact paper to the work surface.
It doesn’t get hot enough to cause damage – but hot enough to secure the paper for longer-lasting usage.
Pro tip: Adjust the hairdryer at low to medium heat and slowly, with the yellow plastic tool from the kit, smooth the edges.
Pro tip: It’s important to not hold heat on too long as it can bubble, melt, and deform the paper. Also, take extra care to smooth as you go over the hairdryer on the paper. You can use your hand, just watch the heat level from the hairdryer (I know I do).
Pro tip: Go slow! Really take your time. The more time you take the more area gets covered and affixed.
Step 12: Trim and Clean Contact Paper from the Countertop
A craft knife helps give precision. It’s sharp – use it with great caution. I hold it like a pencil.
Where we created the hard lines on the edging in step 10, we will now use these lines as a guide on where to cut the excess paper.
The craft knife offers exact precision.
Step 13: Turn up the Heat Again on This DIY cheap Countertop Upgrade
For longevity, we really want to affix the contact paper to the countertop.
I very carefully go over all the edges with a hairdryer again to make sure all the edges are adhering to the countertop.
Most importantly – go over the corners (where we made the slits and folded them over each side) this will secure the two slits together forming a secure edge.
Step 14: DIY Cheap Countertop Upgrade Around the Kitchen Sinks
Whew! We’re almost done!
Last step.
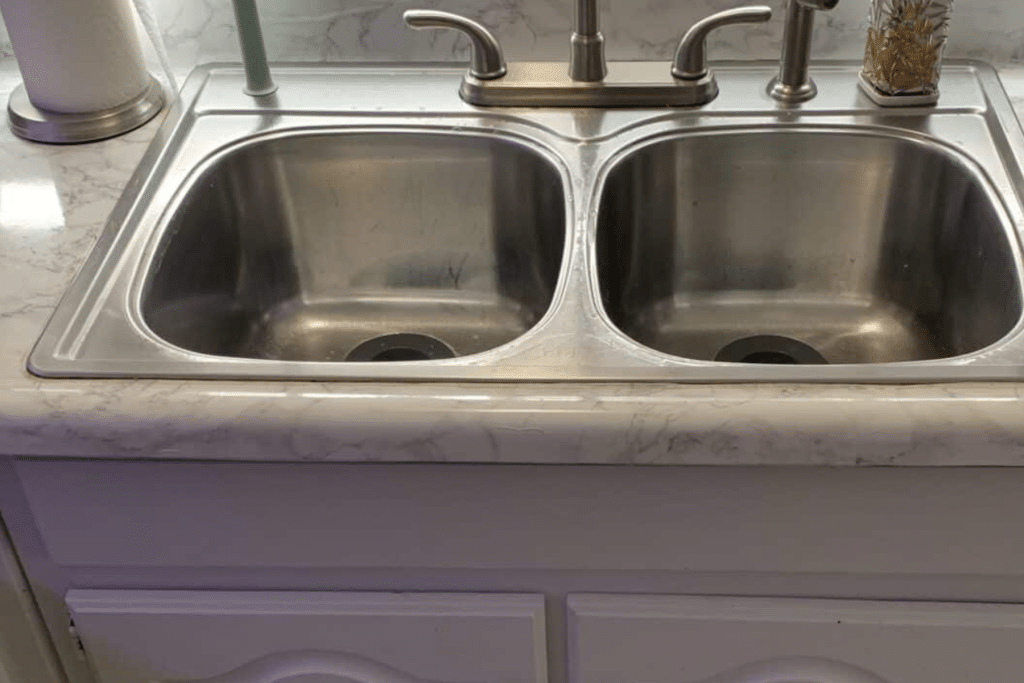
Although this step wasn’t shown in my work countertop tutorial – it was needed for my home upgrade.
Use a smoothing tool to create hard lines around the sink.
Then, (very carefully – it’s sharp – be sure to not cut the sink) trim with a craft knife.
Pro tip: Secure contact paper with a clear caulking gun to stop moisture and water from disturbing the contact paper.
Final Thoughts
It’s amazing what a small, inexpensive upgrade idea like d-c-fix contact paper can do to change the feel of a kitchen.
I’m over the moon with my DIY cheap countertop upgrade, and the local business I updated the cash wrap counter for was also thrilled.
Want more great DIY and everything home ideas? Be sure to follow us on Pinterest, Instagram, Facebook, and Twitter for the latest posts, tips, and ideas.
Your Turn!
What countertop projects are you planning?
Have you ever completed a DIY cheap countertop upgrade before? Let me know in the comments!
RELATED POST:
- Repaint Kitchen Table and Chairs the Easy Way with These 12 Steps
- 18 Easy Steps to Kitchen Cabinet Painting
- 8 Ways to Upgrade Your Kitchen on a Budget
- 8 Steps to Install a Kitchen Peel-and-Stick Backsplash on a Budget
- 12 Easy Kitchen Remodel Ideas on a Budget
- 20 Kitchen Decorating Theme Ideas for Every Home






Wow, this project turned out AMAZING! I would never have guessed it was done with Contact Paper – that stuff is fantastic for beginners to work with.
Hi Jen! Thank you so much! I couldn’t believe it was only contact paper, too. Thank you for reading!
So impressive and creative! I have been finding new uses for contact paper and this is one I have not tried! Thank you for sharing!
Hi Lindsey!
I’m glad you found new ideas for contact paper – it’s amazing how much it can do!
Thank you for reading!
Thank you for the excellent instructions. I have a basement bathroom that needs lots of love.
Hi Stephanie!
I hope you are able to upgrade your basement bathroom. The contact paper is so easy to work with!
Thank you for reading!
It looks incredible! Thank you for putting together such a thorough and informative guide!
Great post!
I’m in need of an kitchen upgrade. Thank you for sharing.
Really neat to now know about a cheap countertop idea. This is great for my high need for novelty to know there are cheap ways to upgrade the looks. Thank you for sharing!
Hi Nia!
I’m excited you enjoyed the DIY cheap countertop upgrade post. I was amazed at how cheap it was to redo the countertops and was so excited to share the project.
Thank you for reading!
Not planning any projects anytime soon but…wow. this looks amazing!!!
Hi Vaishali!
Thank you for the kind words on my DIY cheap countertop upgrade project. I really appreciate it!
Thank you for reading!
Very thorough! Your countertops turned out great!!
Hi Katie!
Thank you for the kind words on the countertops. I hope you enjoyed the DIY cheap countertop upgrade post.
Thank you for reading!
We do this method a lot of times before and it’s good that you shared it. Because it’s really good.
Hi Fransic!
It’s amazing what a diy cheap countertop upgrade can do for a kitchen. We love how ours turned out and sounds like you’ve had great success, too!
Thanks for reading!
This is the best thing I have buy ever!!!!! It’s amazing how my kitchen look and feel after we changed it with the countertop contact paper. I love this product!
Hi Yzzy!
I’m so excited you had a good experience with DIY countertop upgrade ideas. I love my countertops, too!
Thanks for reading!
These are very doable steps and I love how it turned out!
Hi Sarah!
With a little trial and error, the d c fix paper is wonderful. I was really excited about how it turned out, too.
Thanks for reading!
Wow! I never would have guessed from the photos that you covered your counters with contact paper. Nicely done! Thank you for sharing your ideas.
Hi Lisa!
Thank you for the compliment on the countertop upgrade. I was really excited on how it turned out and loved using the d c fix paper.
Thanks for reading!
Thanks for this helpful post! I love these 14 easy steps to DIY a cheap countertop upgrade. Your instructions with the photos are very helpful. Thanks for sharing.
Hi Hadassah!
I’m excited you found the DIY cheap countertop upgrade post helpful and the instruction were good.
Thank you for reading!
This is such a great idea for a countertop upgrade! I love it. Thanks for sharing
Hi Charity!
I’m excited you love the cheap countertop upgrade ideas.
Thanks for reading!
Rich info on countertop upgrade. Thanks
Hi Chims!
I’m glad you enjoyed the DIY countertop upgrade project.
Thank you for reading!
Thank you for the steps. This really spices up the look of kitchens, and I’m lovinnn it.
Hi Tweenselmom!
I’m so glad you liked the DIY countertop upgrade project and found the steps helpful.
Thank you for reading!
This is great! I’ve honestly been debating about upgrading the kitchen in my house since the day I moved in. While it’s not a priority right now, this post gave be a dose of inspection for the further! Thank you so much for sharing!
Hi Whitney!
You are very welcome! I hope you are able to upgrade your kitchen when the time comes.
Thank you for reading!
Wow, that was an amazing transformation! Your instructions are also perfection.
Hi Vanessa!
I’m so excited you found the DIY countertop upgrade instructions perfect. Also, thank you for the kind words on the kitchen transformation.
Thank you for reading!
Wow! Your counters look amazing! They turned out really good!
Hi Kelly!
Thank you for the kind words. I was excited about how the DIY countertop upgrade project worked out.
Thank you for reading!
How exciting that your photos earned you a request from a business! I’ve seen how to marbleize a countertop with paint kits, but this is the first time I’ve seen it done with contact paper. What a great result!
Hi Julie!
Thank you for the kind words. I was excited about how the projects both came out. I’ve also seen the paint kits – they look awesome, too.
Thank you for reading!
I love the faux contact paper & faux tiles they sell now. I used some on the back splash in my kitchen and it made a huge difference in how it looks.
Hi Luna!
I also did a kitchen backsplash project, too. I love that there are so many new and exciting products on the market for an easy DIY project.
Thank you for reading!
I love the end results. I would love an upgrade to my kitchen too and this does not cost so much money.
Hi Beth!
I’m excited you love the end results of the DIY countertop upgrade project. It really is an easy and budget-friendly option.
Thank you for reading!
This turned out so good! My counters are old and gross, but we can’t afford to pay to get the kitchen redone. I need to try this!
Hi Patricia!
You should really try using the contact paper for a kitchen reno. It’s easy to work with and very budget-friendly.
Thank you for reading!
It was interesting to see how you did that. I’ve not come across the contact paper before. It seems quite easy to use. Funny you should say that about the iron. I won’t iron either. I’m scared of ours so the husband has to do it well away from me.
Hi Melanie!
I am definitely not a fan of hot things! The hair dryer is the perfect option for adhering to the contact paper for me! LOL!
Thank you for reading!
I love your idea. Our kitchen is pretty old and needs some refreshments. I`ll show your article to my husband because he is handier.
Wow! The end result is perfect! This is a really nice idea I love it!
Hi Rose Ann!
Thank you for the kind words. I love the end result of the DIY countertop upgrade project, too.
Thank you for reading!
Hi Olga!
The DIY countertop upgrade project is super easy. I know both you and your husband could give it a try. It really makes for a cheap and easy project.
Thank you for reading!
I really appreciate the time and effort you took to walk us through the process.
Hi Sonia!
You are very welcome. It was my pleasure to showcase how easy the DIY countertop upgrade project is to complete.
Thank you for reading!
This actually looks good. You definitely did a great DIY job. We are also planning to upgrade our kitchen and we’ll definitely consider using contact paper since it’s more budget-friendly. Thank you for sharing this wonderful idea. Appreciate the tips and guide.
Hi Clarice!
You are very welcome. I hope your kitchen upgrade project goes well.
Thank you for reading!
Nnnniiiccceeeee….thank you for sharing these tips! The kitchen top here is way over-due, to be honest!
Hi Ntensibe!
I hope you are able to give your kitchen countertops a refresh when the time comes.
Thank you for reading!
WE are about to remodel a kitchen! This is so helpful!
Hi Neely!
I love a good DIY kitchen remodel project, too. I’m glad you found the post helpful.
Thank you for reading!
This actually looks really good. I could really use something like this because my kitchen countertop actually needs an upgrade and an inexpensive one at that.
Hi Christiana!
This is such an easy project to accomplish. I hope you are able to refresh you countertops when the time comes.
Thank you for reading!
I have a lot of respect for people who are good with Diy as I’m not good at all. Your counter tops are really good.
Hi Monidipa!
Thank you for the kind words on the DIY countertop upgrade project.
Thank you for reading!
Had to come back for a second look. I like how easy and non messy the application of the paper is. Because my time spend at home varies from week to week, any design process can’t take more then a day or two to complete. Thankfully this checks off all of those boxes! Thanks again!
Wow, blown away! This is such a great idea for a rental unit as well.