
As a homeowner, maintaining and updating your outdoor deck is an essential task to ensure its longevity and aesthetic appeal. So, if you’re looking for the best way to update your wood deck, you’ve come to the right place! Keep reading to learn the easy way to repaint outdoor decks today.
I may earn a small commission for affiliate links in this post at no extra cost to you. Please read my privacy page for more information. As an Amazon Associate, I earn from qualifying purchases.
Over time, exposure to the elements, UV rays, and usage can cause wear and tear on your wooden deck, resulting in faded or chipped paint and deteriorating wood that isn’t in good shape.
If your deck is not in good condition and in need of a facelift, refinishing, and repainting is a cost-effective and relatively simple solution to give yourself the look of a brand new deck.
However, it can be a challenging task for those who have never attempted it before.
That’s why I have created this comprehensive guide on how to refinish and repaint outdoor decks.
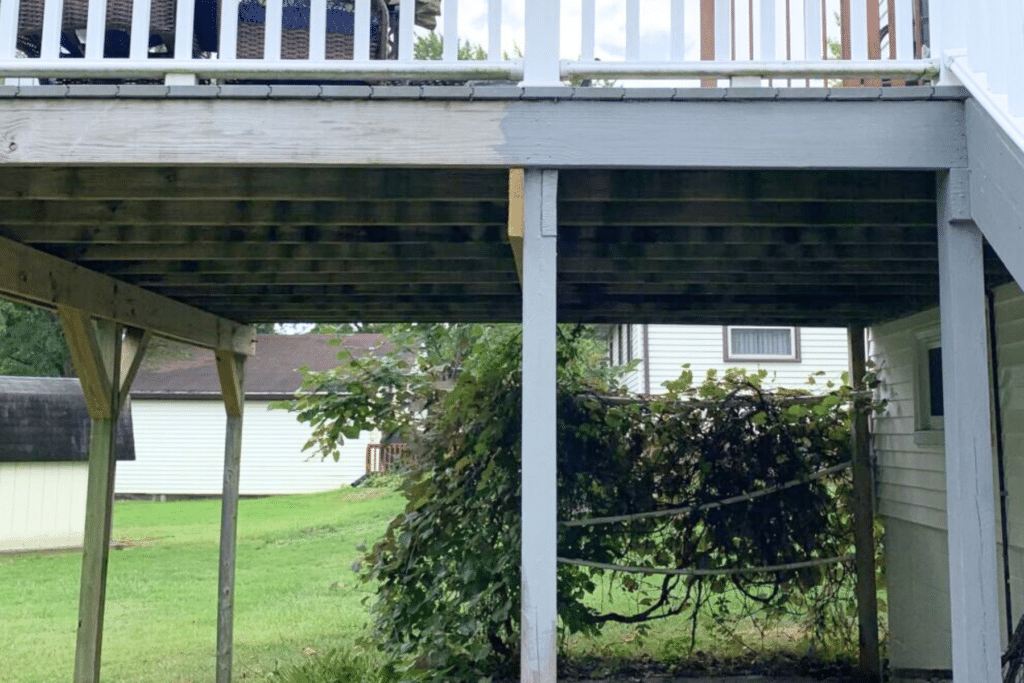
I began my repainting journey as a complete exterior painting novice when I purchased my DIY 1960s fixer-upper home and learned a lot about deck painting over the years.
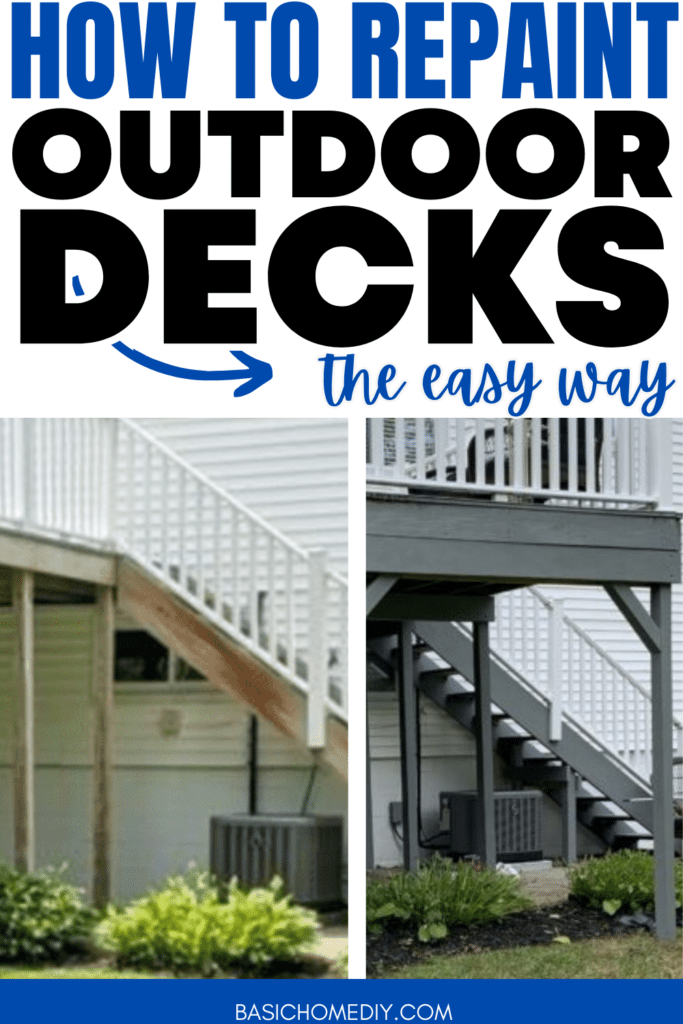
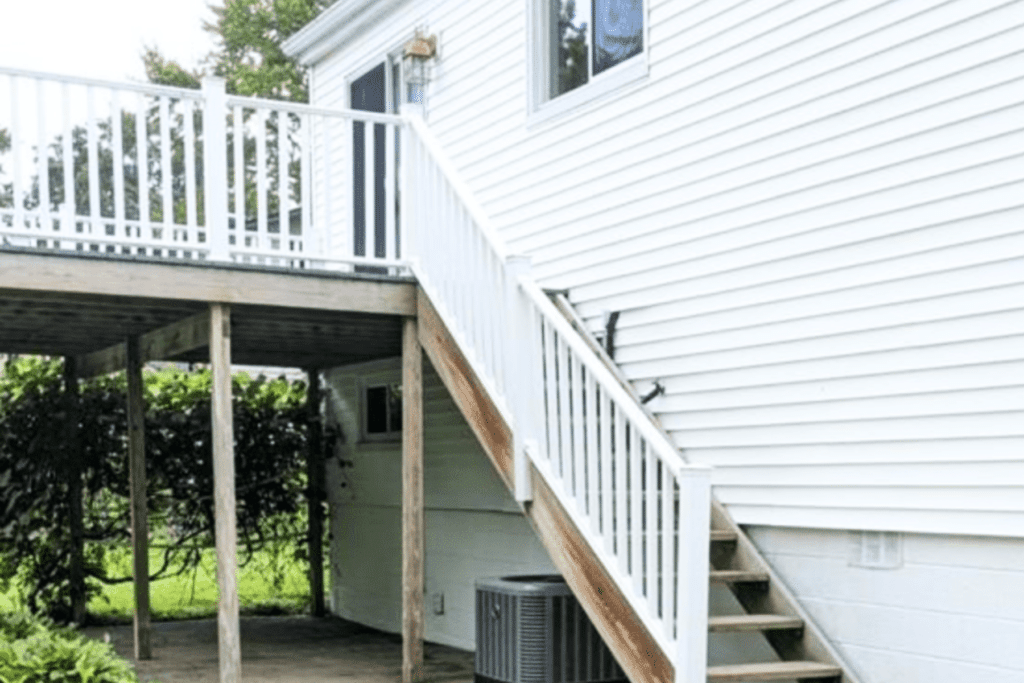
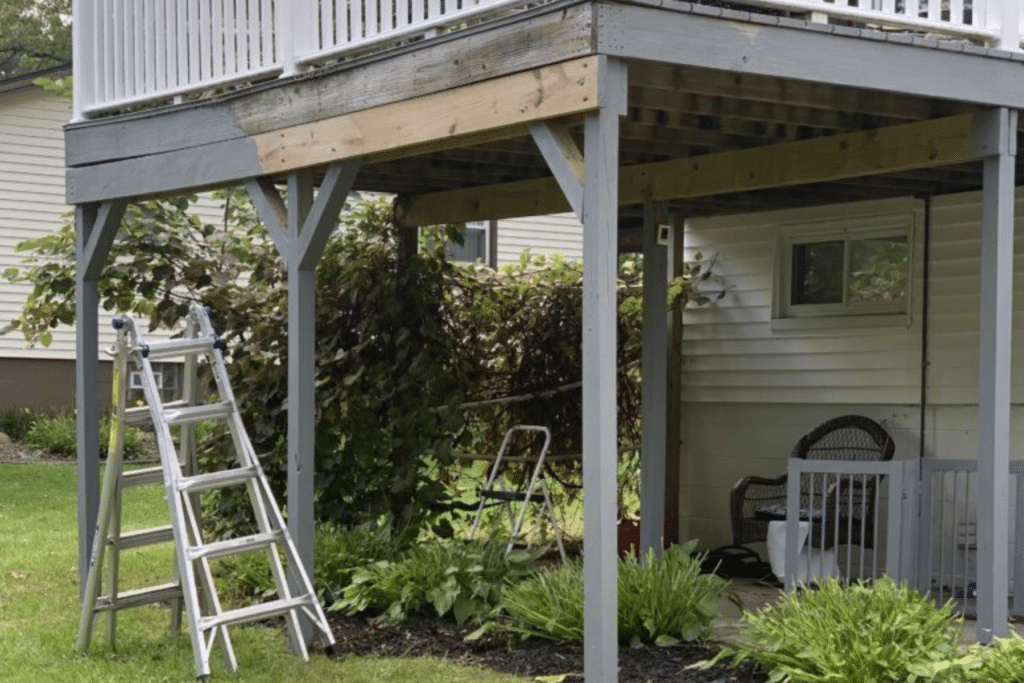
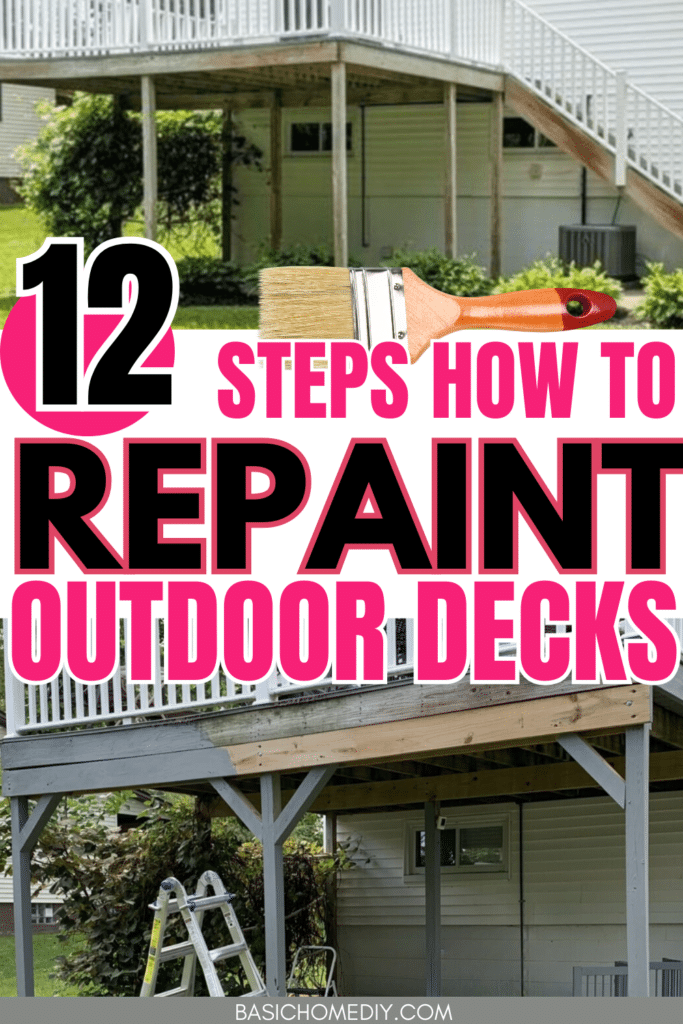
You can see the before picture of my deck below.

After lots of hard work, I have personally refinished and repainted my older deck and have created a new paint job through regular maintenance at my home.
Although deck repainting can be a big undertaking, I’ll try to help with this simple guide.
I will walk you through the step-by-step process of refinishing and repainting your deck areas for a fresh look, including prep work, material selection, pressure washing, and application techniques of decking boards.
By following this basic steps guide, you can transform your tired and worn deck into a beautiful and freshly painted outdoor oasis that you can enjoy for years of use.
So, let’s get started and learn how to create a beautiful deck and how to repaint outdoor decks today for a great addition to your home.
1. Check the Weather Forecast
The first step is to check the weather forecast and select the best time of year before embarking on the task of repainting an outdoor deck.
Weather conditions can significantly impact the effectiveness of the paint and its drying process.
Ideally, choose a day with mild temperatures, low humidity, and minimal chances of precipitation.
Avoid painting or staining on extremely hot or cold days, as extreme temperatures can affect the product’s performance.
Try to find some better days to work when you won’t be in direct sunlight as well.
Additionally, it’s important to anticipate the forecast for the next 24 to 48 hours, considering factors such as rain, dew, or high winds that could compromise the quality of the application.
Planning the project during a dry and stable weather window will not only enhance the overall durability of the finish but also make the painting process more enjoyable and efficient.
2. Choose the Right Paint Materials
The next step when it comes to refinishing and repainting outdoor decks is selecting the appropriate paint materials to achieve a beautiful, long-lasting, and durable finish.
When it comes to refinishing and repainting outdoor decks, choosing high-quality deck paint is important for long-lasting and professional results.
I have learned from my experience that investing in a reputable brand of paint specifically formulated for outdoor use is essential.
High-quality deck paint offers superior durability, weather resistance, and UV protection, ensuring that your deck can withstand the elements and retain its vibrant color over time.
Additionally, these paints are often formulated with advanced technologies that prevent cracking, peeling, and fading, providing a smooth and flawless finish.
While it may be tempting to opt for cheaper alternatives, selecting a high-quality deck paint is a wise decision that will save you time, effort, and money in the long run.
So, when it’s time to repaint or refinish your outdoor deck, make sure to choose a reliable and premium deck paint that promises exceptional performance and longevity.
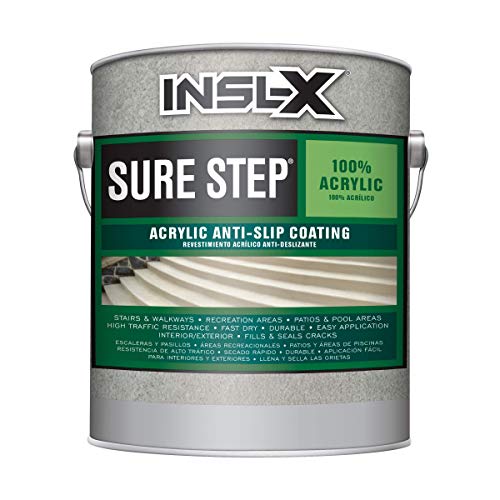
INSL-X SU031009A-01 Sure Step Acrylic Anti-Slip Coating Paint, 1 Gallon, Light Gray
I selected the INSL-X SU031009A-01 Sure Step Acrylic Anti-Slip Coating Paint in Light Gray.
According to the Amazon listing, the paint is:
- Skid-resistant
- Durable
- Anti-slip for interior and exterior application
- Excellent color retention
- Abrasion resistance for ponding
- Fast drying
- Durable
- Fill and seal cracks
- 80-120 square foot coverage per gallon
By investing in the right paint materials, you can ensure a beautifully finished outdoor deck that will withstand the test of time.
3. Assemble All the Repainting Deck Materials
Once you’ve selected the proper outdoor professional painter materials, you’ll need to grab a few more items.
Here’s a list of materials you may need for repainting your outdoor deck:
- Deck Cleaner: Choose a deck cleaner suitable for your deck’s material to remove dirt, mildew, and stains. Follow the manufacturer’s instructions.
- Pressure Washer: A pressure washer can help thoroughly clean the deck surface. Be cautious with the pressure to avoid damaging the wood.
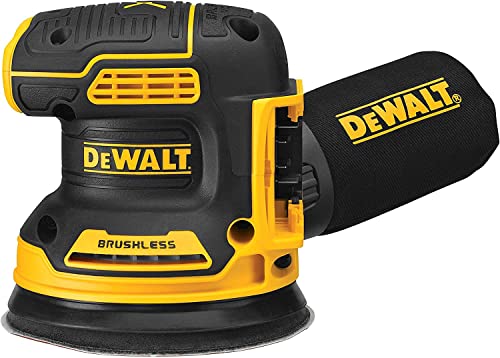
- Sanding Equipment: Sand the deck to smooth the surface and remove any loose or peeling paint. You may need a paint scraper, belt sander, orbital sander, stiff bristle brush, or sanding block.
- Wood Filler: Fill any cracks, loose boards, holes, or gaps in the deck with a wood filler. Ensure the filler is suitable for outdoor use.
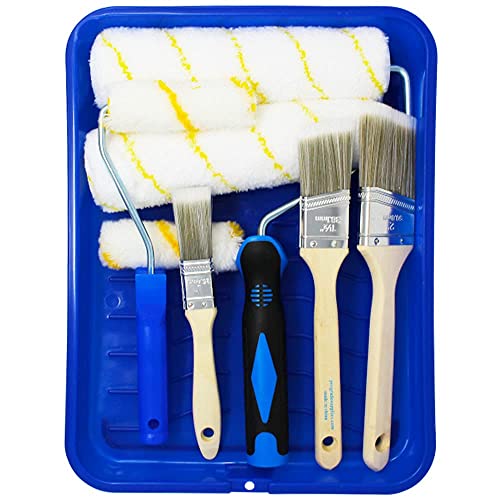
- Paintbrushes and Rollers: Use a paintbrush for detailed work and a paint roller for larger areas. Ensure they are appropriate for your chosen paint or stain.
- Painter’s Tape: Use painter’s tape to protect areas you don’t want to paint, such as adjacent walls, railings, or trim.
- Drop Cloths or Plastic Sheeting: Protect surrounding areas and landscaping by covering them with drop cloths or plastic sheeting.
- Safety Gear: Wear safety gear, including goggles, a mask, and gloves, to protect yourself from dust, fumes, and chemicals.
- Stir Sticks and Mixing Trays: Stir your paint or stain thoroughly before application.
- Extension Pole for Roller (if needed): If your deck is large or has high areas, an extension pole can make it easier to paint or stain without bending or straining.
- Paint Tray or Bucket: Use a paint tray for your paint or stain when using a roller.
- Clean Rags or Cloths: Keep clean rags or cloths handy for wiping up spills or cleaning tools.
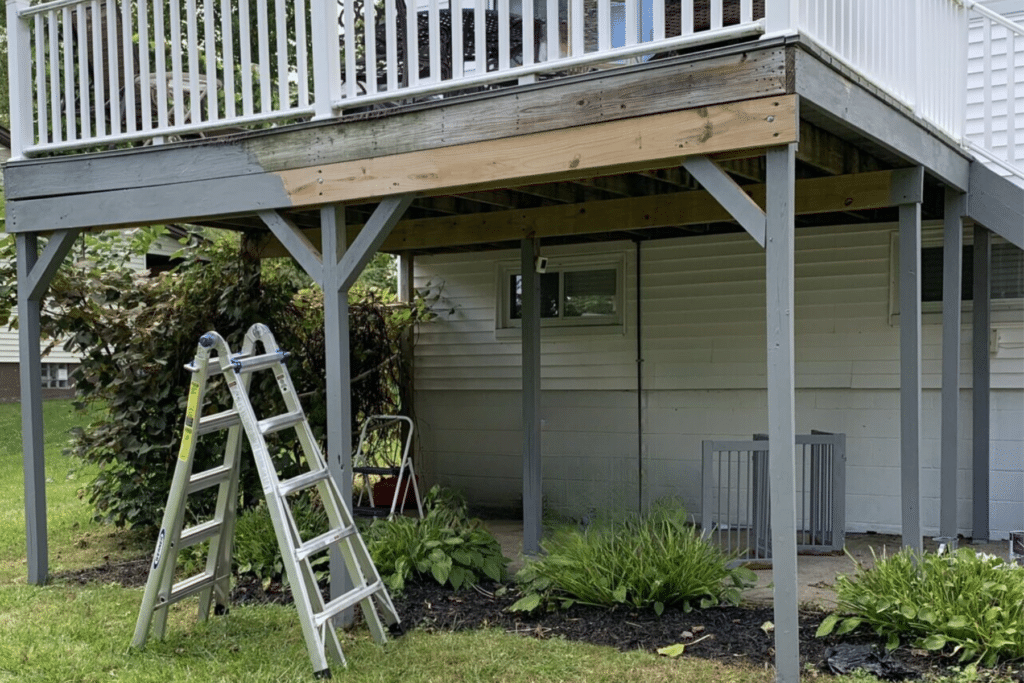
4. Prepare the Deck with a Pressure Washer
To prepare the deck for refinishing, one important step I recommend is using a pressure washer for power washing the old boards and wooden surfaces of the old deck paint.
This powerful tool is a good idea to help remove dirt, grime, and remnants of your older painted deck, creating a clean and smooth canvas for the refinishing process.
Before starting the power washer, check out my step-by-step pressure washing post to learn more about the deck pressure washing process.
Keep in mind, that it is important to ensure that the pressure washer is set to an appropriate level, as using excessive pressure can damage the wood.
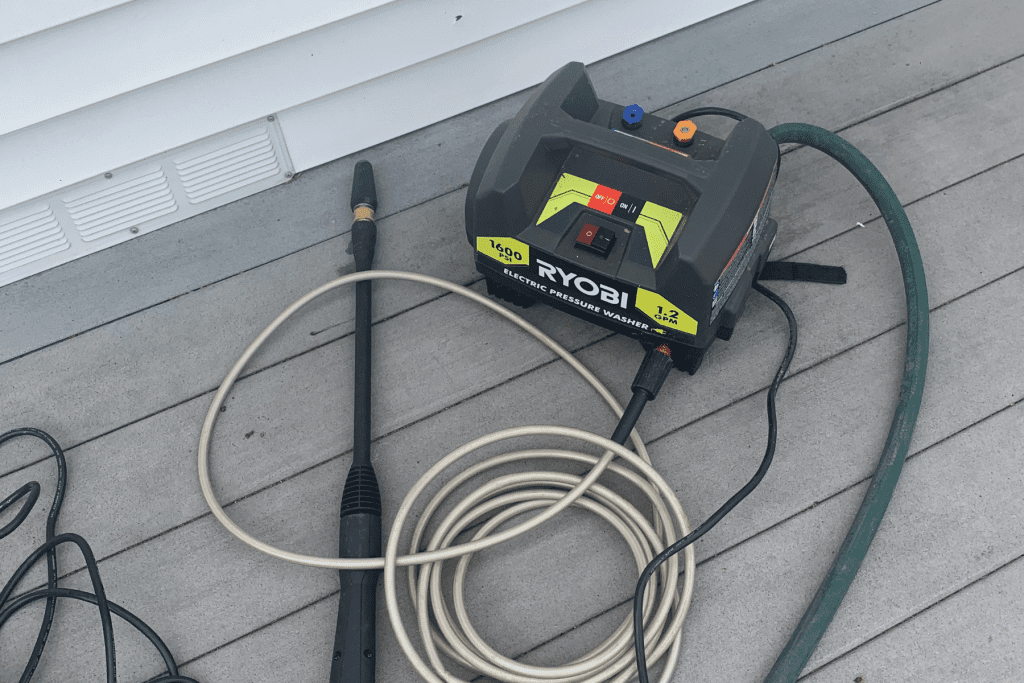
I start by sweeping the deck to remove any loose debris, then I connect the pressure washer to a water source and garden hose and apply a deck cleaner solution to the outdoor area.
Working in sections, I use sweeping motions to evenly distribute the water and cleaner solution across the deck surface.
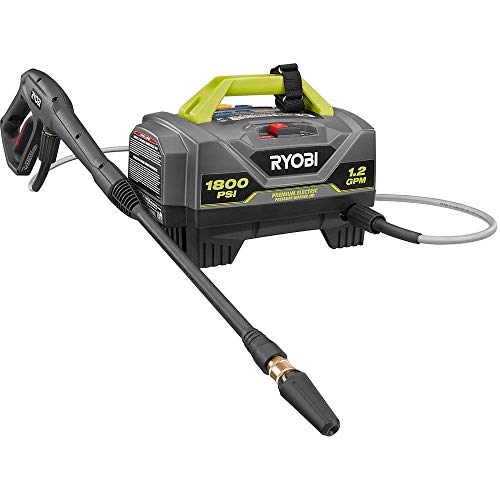
RYOBI 1,800 PSI 1.2 GPM Electric Pressure Washer, RY141820VNM
Paying attention to any stubborn stains, peeling existing paint, or high-traffic areas, I adjust the pressure washer nozzle accordingly to effectively remove the grime.
Once the entire deck has been thoroughly cleaned, I allow it to dry completely before proceeding with the outdoor paint repainting project.
This step of using a pressure washer not only prepares the deck for refinishing but also helps to prolong the life of the new paint quality or deck stain by ensuring a clean and properly adhered surface.
5. Sand the Surface for Smoothness
To achieve a smooth and polished finish on the deck, a great way to unearth the beauty of the wood is to sand the deck material surface.
Sanding helps to remove any remaining rough surfaces, old paint residue, and imperfections, creating a bare wood, clean, and even surface for the new coat of paint or stain.
After sanding the horizontal surfaces and vertical surfaces of the deck, inspect the surface to ensure its smoothness address any remaining imperfections with finer-grit sandpaper if necessary, and check for loose nails or anything needing wood filler.
Once the sanding process of the wood grain is complete, proceed with the next steps of the refinishing process and apply a fresh coat of paint.
6. Cover Up Non Painted Areas

Prior to repainting an outdoor deck, it’s essential to carefully cover up areas that won’t be receiving a fresh coat of paint to ensure a neat and professional finish.
The use of painter’s tape is instrumental in delineating edges, and protecting adjacent walls, trim, and other surfaces from unintended paint splatters and loose paint.
Additionally, employ drop cloths or plastic sheeting to shield the deck’s surrounding areas and landscaping.

This not only prevents accidental spills and drips from reaching undesired surfaces but also facilitates a more organized and efficient painting process.
It won’t take much time, but it’s important to cover all areas, including the sides and edges of the deck boards to prevent too much paint or further damage from paint getting in the wrong areas of the deck.
7. Apply the First Coat of Paint
To begin the refinishing and repainting process of your outdoor deck floor, the best option is to start with the first paint coat.
This step sets the foundation for the rest of the project and ensures a smooth and even finished look of your deck.
Using a high-quality paintbrush or roller, apply the paint evenly and in long, smooth strokes, following the natural grain of the wood.
Although I only used paint rollers and paint brushes, some people use a paint sprayer as well.
Allow the wet edge and first coat to dry completely before proceeding to the next step in the refinishing process.
8. Paint Deck and Railing With Precision Strokes
Now that the first coat of paint has dried, it’s time to begin painting with precision strokes.
This step is important in achieving a professional and flawless finish for your outdoor deck.
Using a high-quality paintbrush or roller, take your time to carefully apply the paint in controlled and deliberate strokes.
Start from one end of the deck and work your way toward the other, maintaining consistent pressure and speed.
It’s important to follow the natural grain of the wood and cover all areas evenly, including the sides and edges of the deck boards.
By using precision strokes, you can ensure that every inch of the deck is coated with an even layer of paint, resulting in a beautifully refreshed and rejuvenated outdoor space.
9. Don’t Forget to Paint the Railings and Stairs

Now that the main deck surface has been refinished and painted, it’s essential to paint the railings and stairs.
These areas are often a focal point of your outdoor deck and require the same attention to detail as the main surface.
Using a paintbrush or roller, carefully apply the paint to the railings, ensuring even coverage on all sides.
Don’t forget to address any intricate details or decorative elements that may be present.
As for the stairs, it’s important to paint both the horizontal steps and the vertical risers for a cohesive and polished look.
Take your time and work methodically to achieve a seamless finish on both the railings and stairs, ultimately enhancing the overall appearance and safety of your outdoor deck.
10. Apply a Second Coat of Deck Paint
To further enhance the durability and longevity of your newly refinished and painted outdoor deck, I highly recommend applying a second coat of paint.
This additional layer serves as an extra protective barrier against the elements, foot traffic, and general wear and tear.
Applying a second coat ensures that any areas that may have been missed or lightly covered during the initial application are properly addressed.
It helps to achieve a more consistent and solid color, providing a professional and polished finish to your outdoor deck.
INSL-X SU031009A-01 Sure Step Acrylic Anti-Slip Coating Paint, 1 Gallon, Light Gray
Be sure to allow sufficient drying time between coats as recommended by the paint manufacturer.
Once you are done with the paint, store any remaining paint for future touch-ups.
11. Let the Paint Completely Dry
After applying the second coat of paint, it is essential to let the paint dry completely before allowing any foot traffic or placing any furniture back on the deck.
This step is important for achieving a flawless finish and ensuring the paint adheres properly to the deck surface.
Rushing this process may result in streaks, smudges, or even peeling of the paint, compromising the overall appearance and durability of your deck.
Depending on the paint type and environmental conditions, the drying time can vary.
It is best to refer to the paint manufacturer’s instructions for specific drying time guidelines.
Patience is key during this phase, as allowing the paint to adequately dry will yield the best results and help maintain the freshly refinished look of your outdoor deck for years to come.
12. Enjoy Your Freshly Repainted Deck
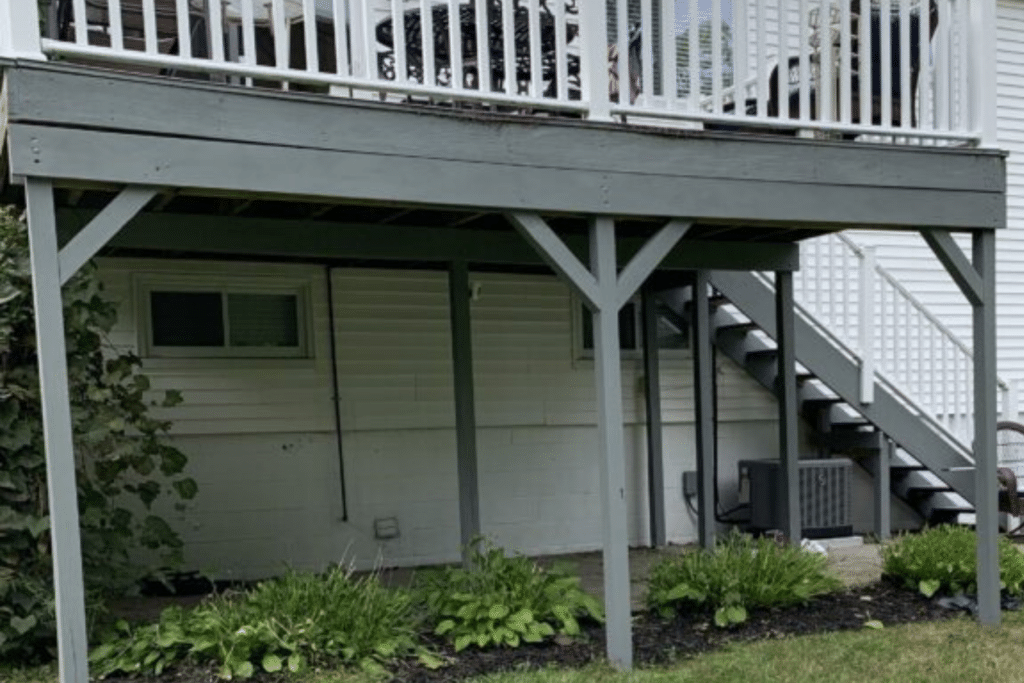
Now that your deck has been refinished and repainted, it’s time to enjoy the fruits of your labor.
Step back and admire the transformation as the fresh coat of paint brings new life to your outdoor space.
Whether you plan on hosting family gatherings, relaxing with a good book on a sunny day, or simply appreciating the beauty of your surroundings, your freshly painted deck provides the perfect setting.
Take a moment to appreciate your star painting job and the smooth and even surface, free from imperfections and weathered wear.
With proper maintenance and regular cleaning, your deck will continue to be a source of enjoyment and pride, enhancing the overall aesthetic and value of your home.
So go ahead, grab a chair, and savor the satisfaction of your newly revitalized outdoor oasis.
Final Thoughts
All in all, refinishing and repainting outdoor decks may seem like a challenging task, but with the right tools and painting techniques, it can be a rewarding and cost-effective way to refresh your outdoor space.
As a homeowner who has painted her deck a few times, I have seen the transformation that a fresh coat of paint can bring to a worn-out deck.
I hope this guide has provided you with valuable tips and insights to help you successfully tackle your deck refinishing project.
Remember to take your time, follow safety precautions, and enjoy the process.
Your beautifully refinished deck will be worth all the effort in the end.
Want more great DIY and everything home ideas? Be sure to follow us on Flipboard, Pinterest, Instagram, Facebook, and X for the latest posts, tips, and ideas.
Your Turn
Have you ever completed an update to your deck through repainting? Do you have any tips to share on how to repaint outdoor decks? Let me know in the comments.
RELATED POSTS:


First of all….your finished deck looks amazing! Second, thank you for this post as I needed it. We are in the process of doing some home renovations with the deck being one of the big ones! The details of painting the deck are very helpful!
Hi Michelle!
I’m so excited you found the tips for repainting outdoor decks helpful. It was a time-consuming project, but not too hard. I hope you are able to cross it off your to-do list soon.
Thank you for reading!
Hi there
I`m not very creative that for any small task, I do look for help, but you`ve explained things so well thta I`m motivated to paint my patio that really needs some love.
Thanks so much for sharing.
Hi Roseline!
I hope you are able to your repaint outdoor deck soon. It’s a pretty easy project that really changes the look of the deck or patio.
Thank you for reading!
Your deck looks amazing. Great job. I envy American houses. They’re huge!
Hi Liv!
Thank you for the kind words on the deck painting project!
Thank you for reading!
Just shared this post with my husband; it will help us choose the right paint colors for our desks. Thanks for sharing this article.
Hi Queen!
I wish you luck in picking the right colors and your outdoor deck painting project.
Thank you for reading!
This is helpful. Thank you for the detailed steps. Your newly painted deck looks beautiful!
Hi Carrie!
I’m excited you found the outdoor deck painting post helpful
Thank you for reading!
It turned out great! Maybe we should paint our deck…
Hi Meredith!
Thank you for the compliment on the deck painting project. I hope you are able to get yours painting, too.
Thank you for reading!
The deck looks so refreshed! Thank you for sharing all the products needed to make this a successful home improvement project.
Your deck now looks beautiful!!! The design of it reminds me of one of our childhood homes. The deck was off of our living room, overlooking a ravine and woods. We had maybe twenty-five or so feet behind the house before the steep ravine started, and the deck was over our walk-out basement.
The deck looks so good repainted! I always thought stain would be better than paint so it was nice reading about the pros of painting.
The deck looks great!!
This post is super helpful! We’re in a similar boat where the previous owners of our home neglected the deck, so we’re in the process of deciding if we can salvage what’s there or if we need to rebuild it altogether. Whatever route we decide to go in, I think we will definitely plan to paint versus stain the deck. Thank you for sharing your experience and great tips for painting your own deck!
Hi Heather!
I hope your deck turns out great! I really prefer painting vs. staining. We stained our deck at a previous home, and the paint just looks better and goes on much smoother.
Thanks for reading!
So helpful! Thanks for sharing. The paint definitely looks better than a stain. Thanks for all the information, advice, and pics.
Hi Sharon!
I really enjoyed working with the paint for the deck. I stained a deck at my previous home, and found the paint went on so much better.
Thank you for reading!
It looks great, you guys did a great job! I love the colors too, they go together so well.
Hi Leslie!
Thank you so much! We were really excited about how it turned out. I love the grey and white look, too.
Thank you for reading!
Our deck is so tired and worn looking I had thought about hiring someone to do this. After reading through this article I think this is something I can do myself – thanks for the deck painting tips!
I don’t have a deck, however, a couple friends of mine do at their houses and could benefit from reading this. Especially now that the weathers warming up and they are spending more time outside. Thanks so much for sharing!
I love the gray color! It turned out great; gotta love how a fresh coat of paint makes a huge difference!
The end result looks like a professional job. I love how my deck looks now and I couldn’t be happier with the outcome. Thank you for sharing this helpful guide!
Hhhhmmm….you have brilliant painting ideas that you have shared. I love the one to do with switching to a more jovial look or colour. It’s high time I moved on from the browns.
This was very timely and helpful. I was just planning to repaint our outdoor decks! Thank you.
Looks like an interesting project and thanks a lot for the tips and guide! It is wonderful that we can repaint our home with ease and know about the things that we need to pay attention to.
I love DIY in anything that I want to do. I’m sure this activity will be good for my family to do together.
loved your post there will be a lot of jobs like this being down as the weather continues to get warmer. I love how you wrote your post reminding of all the little steps from the weather to having all you need ready